AI Data Platform Series: Setting Up the AI Data Platform Environment

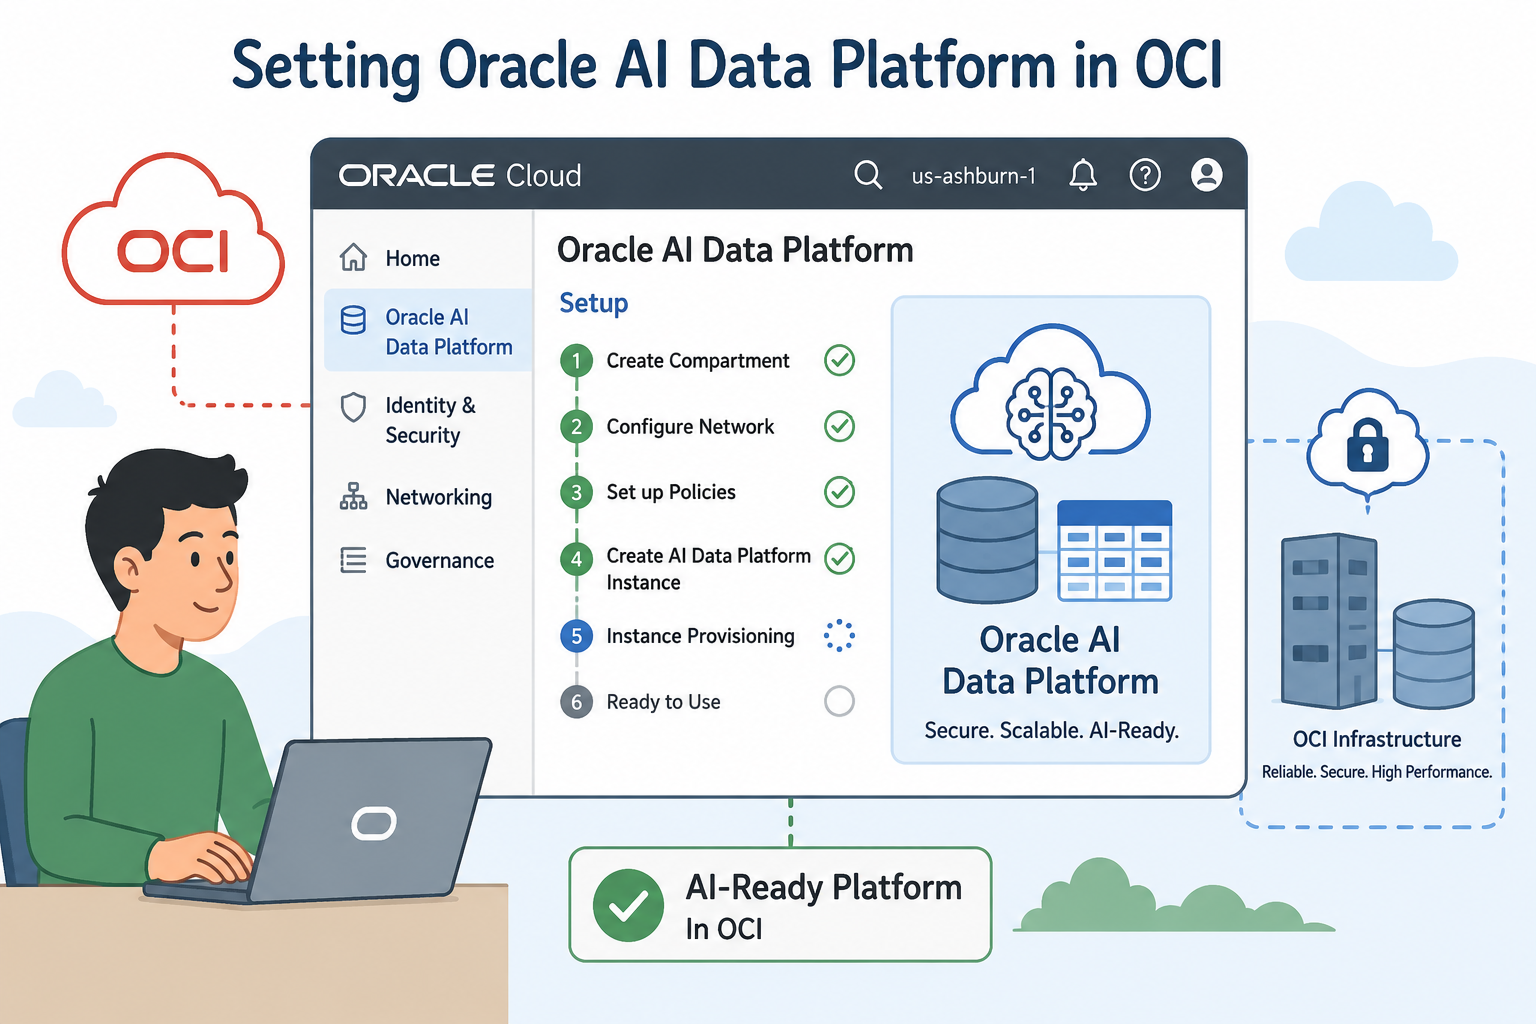
This post backs up a step from the rest of the AI Data Platform series. Before any bronze/silver/gold Spark job can run, or a stream producer can hand data off to something downstream, the AI Data Platform (AIDP) environment itself has to exist: a Workbench, a workspace, a catalog, compute, and a place to keep secrets. This post walks through building all of that from nothing on a brand-new OCI tenancy, using the same TfL bus-arrivals demo's naming (catalog tfl, schemas bronze/silver/gold) as the throughline.
The shape of an AI Data Platform environment
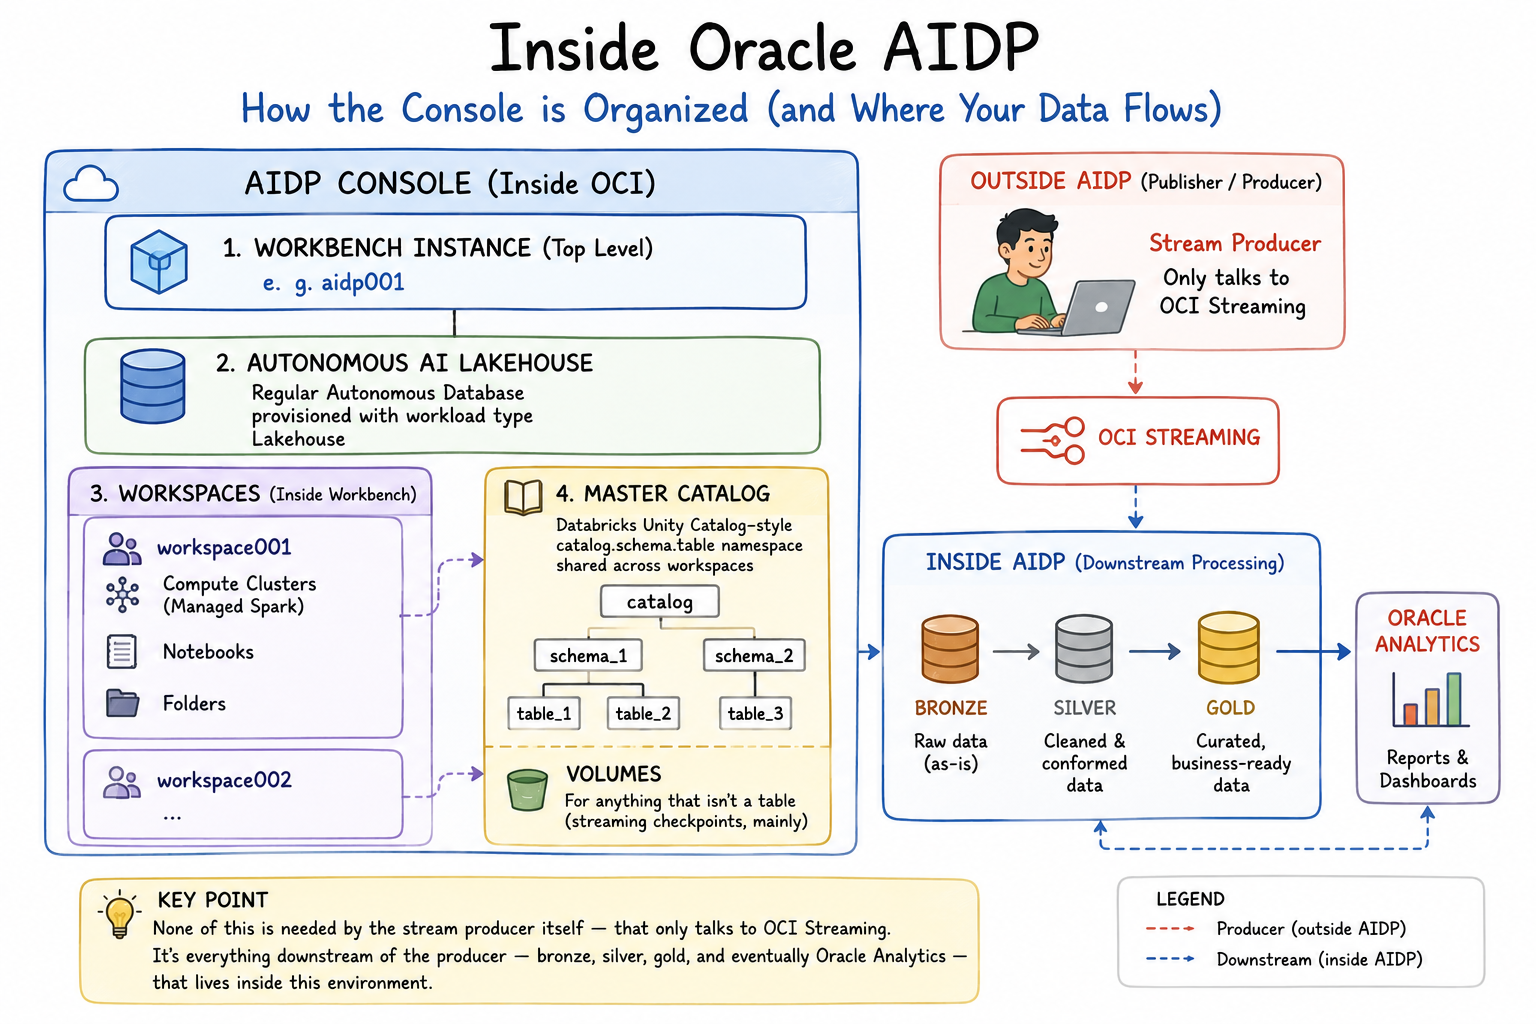
AIDP's console groups objects into a hierarchy that's worth having straight before clicking anything: a Workbench instance (the top-level resource, e.g. aidp001) sits on an Autonomous AI Lakehouse — which isn't a separate product, just a regular Autonomous Database provisioned with workload type Lakehouse. Inside the Workbench, one or more Workspaces (workspace001 here) each hold their own Compute clusters (managed Spark), Notebooks, and Folders. Separately, at the Workbench level, sits the Master Catalog — a Databricks-Unity-Catalog-style catalog.schema.table namespace shared across workspaces, with Volumes for anything that isn't a table (streaming checkpoints, mainly).
None of this is needed by the stream producer itself — that only talks to OCI Streaming. It's everything downstream of the producer — bronze, silver, gold, and eventually Oracle Analytics — that lives inside this environment.
Creating the Workbench
Analytics & AI > AI Data Platform Workbenches > Create AI Data Platform Workbench is a single page. It asks for a Workbench name and a default workspace name in one step (no separate "create workspace" screen), a Lakehouse configuration — Choose existing, Create new, or None — and a storage-encryption choice. Picking Create new for the Lakehouse only asks for two fields: a fixed ADMIN username and a password. There's no ECPU or storage sizing exposed at all; AIDP owns those defaults and provisions the underlying Autonomous AI Lakehouse itself.
The one part worth calling out in detail is the policy step. The wizard's "Add policies" section doesn't ask you to write IAM statements by hand — it shows you the exact ones it's about to create, scoped to a Standard access level by default. On a clean tenancy (smartqcloud, compartment shared), the auto-generated statements all follow the same pattern:
allow any-user TO {AUTHENTICATION_INSPECT, DOMAIN_INSPECT, DOMAIN_READ,
  DYNAMIC_GROUP_INSPECT, GROUP_INSPECT, GROUP_MEMBERSHIP_INSPECT,
  USER_INSPECT, USER_READ} IN TENANCY where all
  {request.principal.type='aidataplatform'}

allow any-user to manage buckets in tenancy where all
  {request.principal.type='aidataplatform',
   any {request.permission = 'BUCKET_CREATE', request.permission =
   'BUCKET_INSPECT', request.permission = 'BUCKET_READ',
   request.permission = 'BUCKET_UPDATE'}}

allow any-user to manage log-groups in compartment id <shared-compartment-OCID>
  where ALL {request.principal.type='aidataplatform'}
The detail worth noticing: every statement is scoped by request.principal.type='aidataplatform', not by a dynamic group. These are any-user grants that only ever fire when the AI Data Platform service itself is the requester — a cleaner model than the dynamic-group dance older OCI services still use, and one less resource to create and maintain by hand.
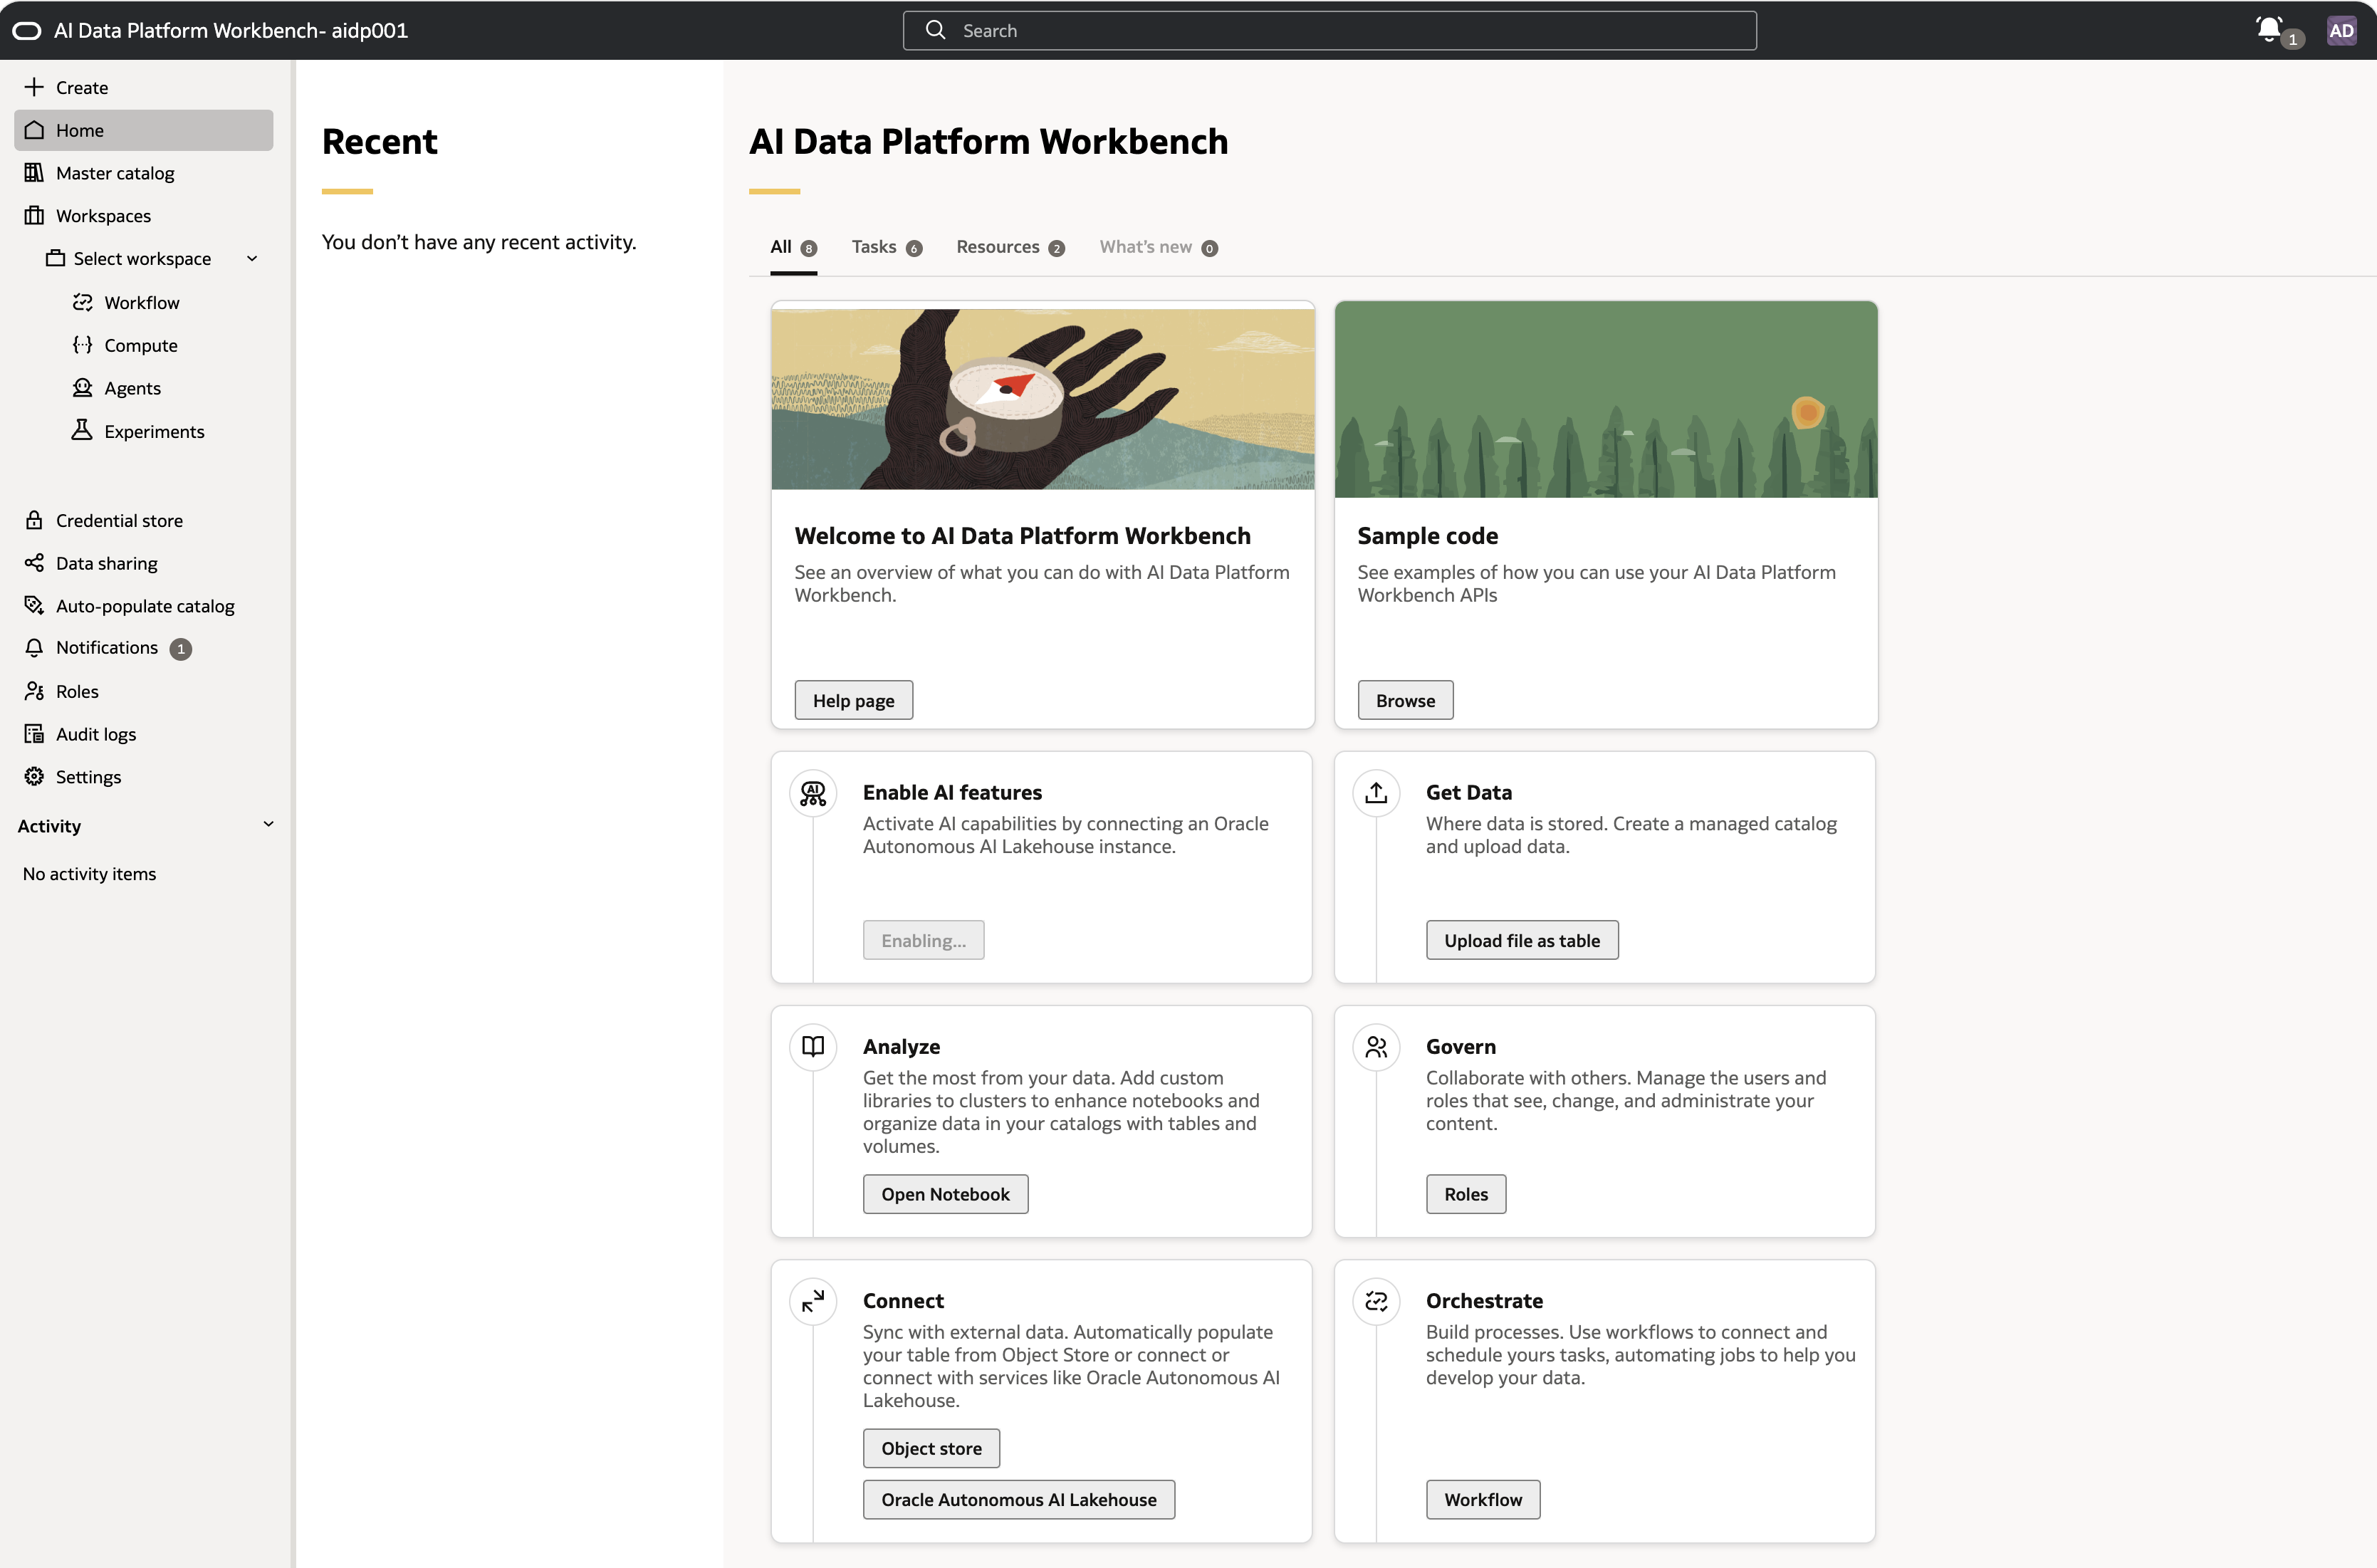
Click Add, then Create, and once the instance goes Active you land on the Workbench home page:
Building the Master Catalog
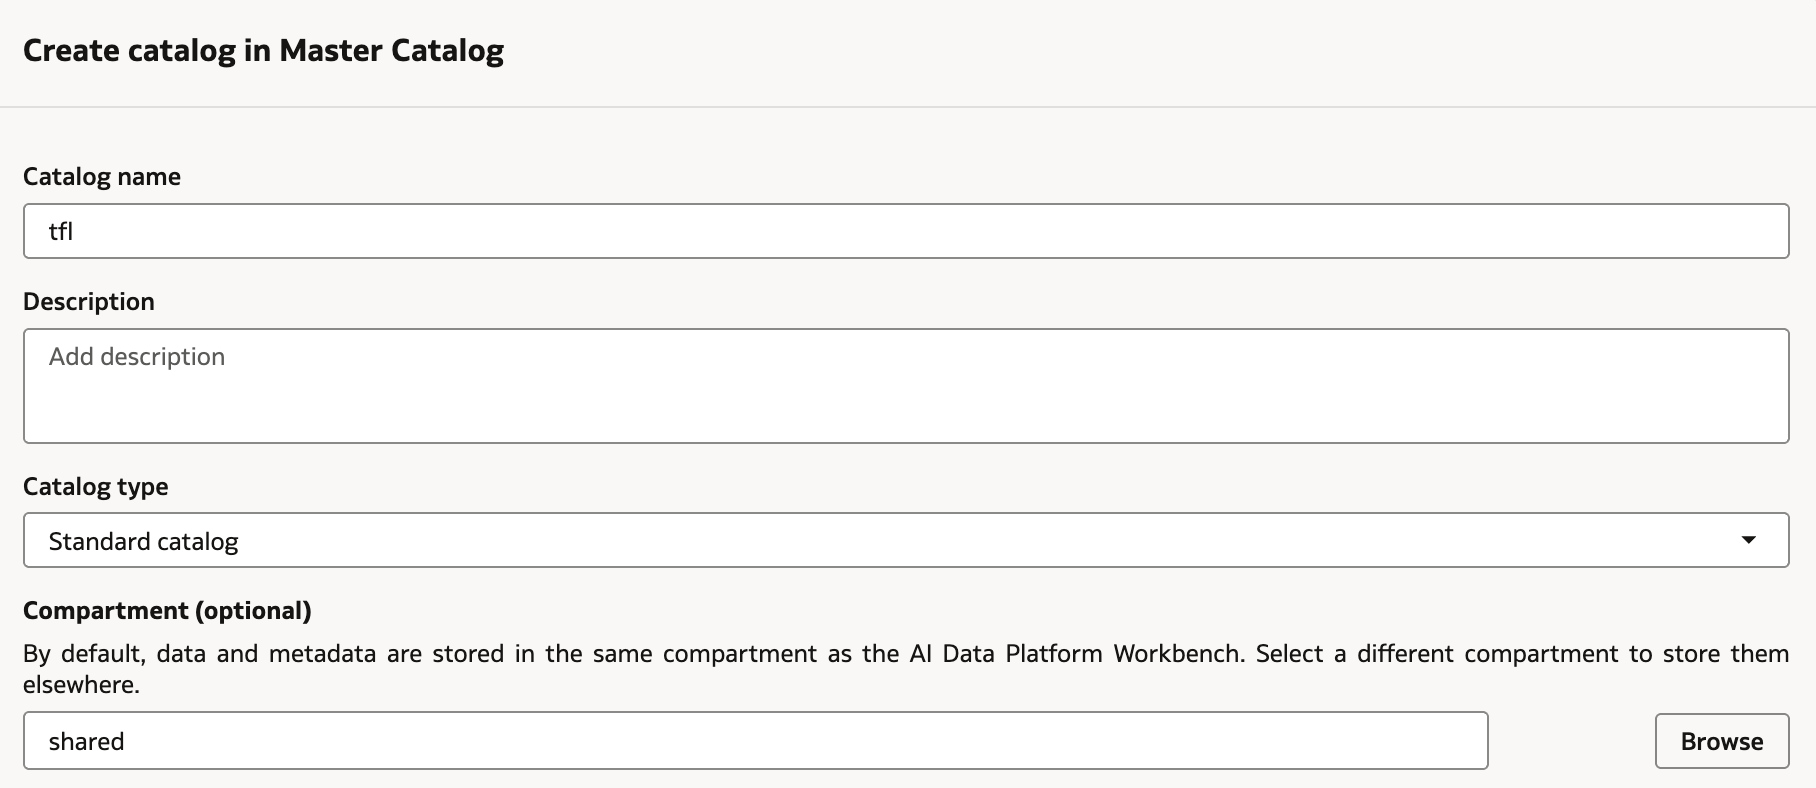
With the Workbench up, Master Catalog needs to be created first. Master Catalog > Create Catalog asks for a catalog name, a type (pick Standard catalog), and an optional compartment override; leave it matching the Workbench's own compartment unless you specifically want the catalog's storage elsewhere:
After that, we need to wait until it shows up Active alongside the platform's own default catalog:

Worth a second look here: the badge next to "Master catalog" reads Default Cluster (Accepted). The Master Catalog has its own dedicated, system-managed Spark compute backing catalog operations. Separated from anything you provision yourself, it starts spinning up the moment you create your first catalog. That becomes relevant a couple of steps later.
Spinning up a Spark cluster
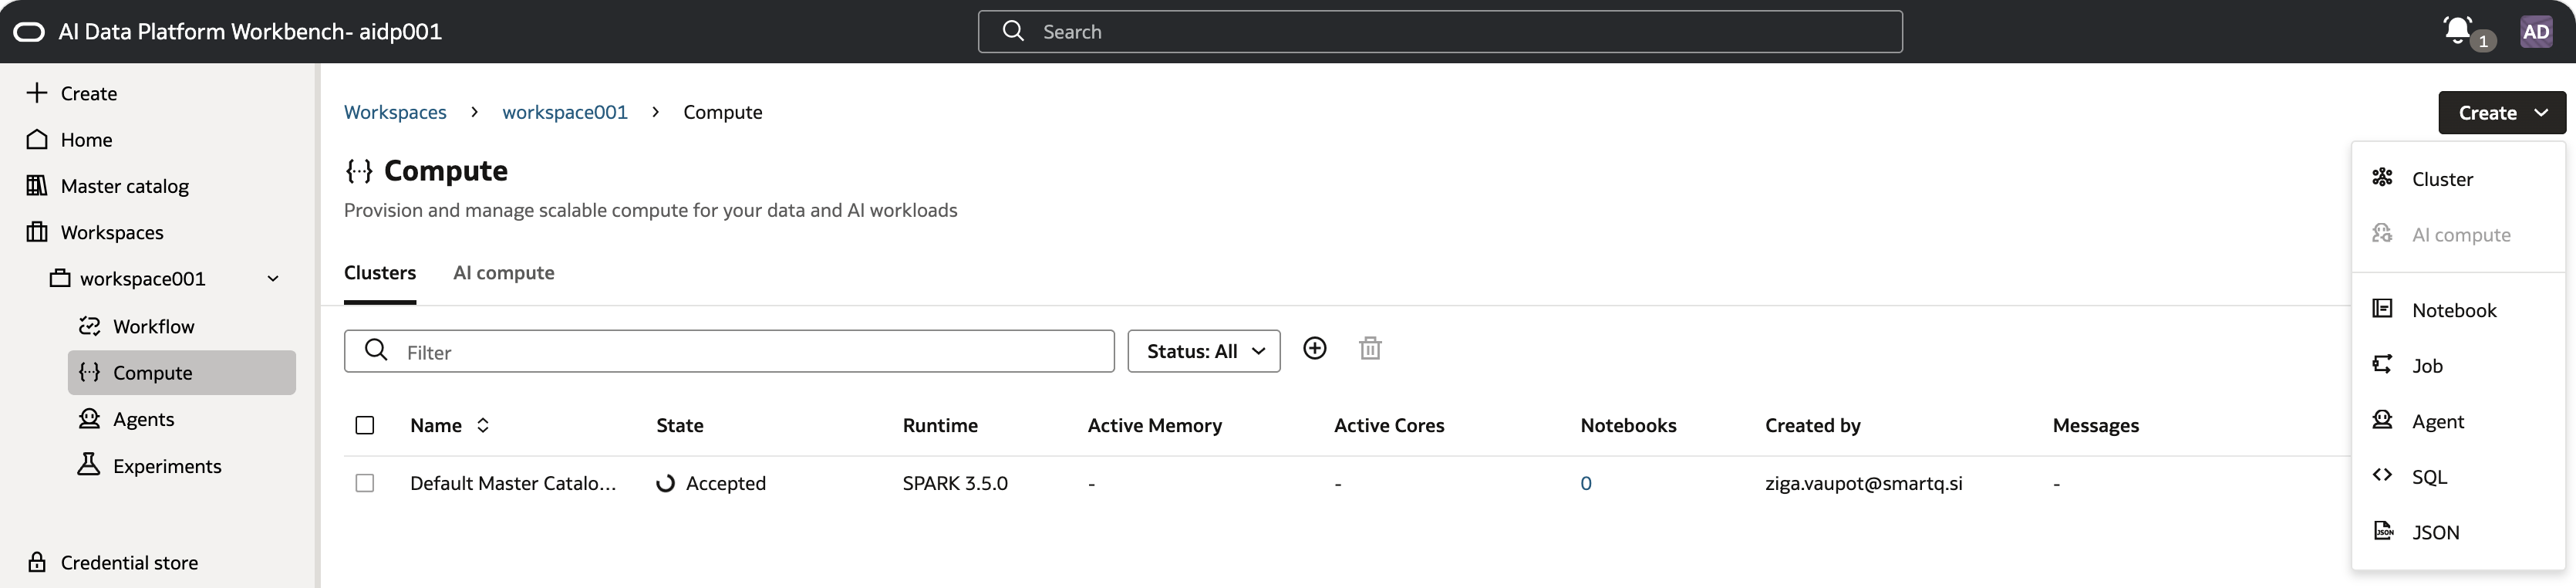
Workspace > Compute > Create Cluster offers two paths. Quickstart hands you a fixed, fairly generous preset — AMD driver and worker, 2 OCPUs / 32GB each, autoscaling 1-10 workers:
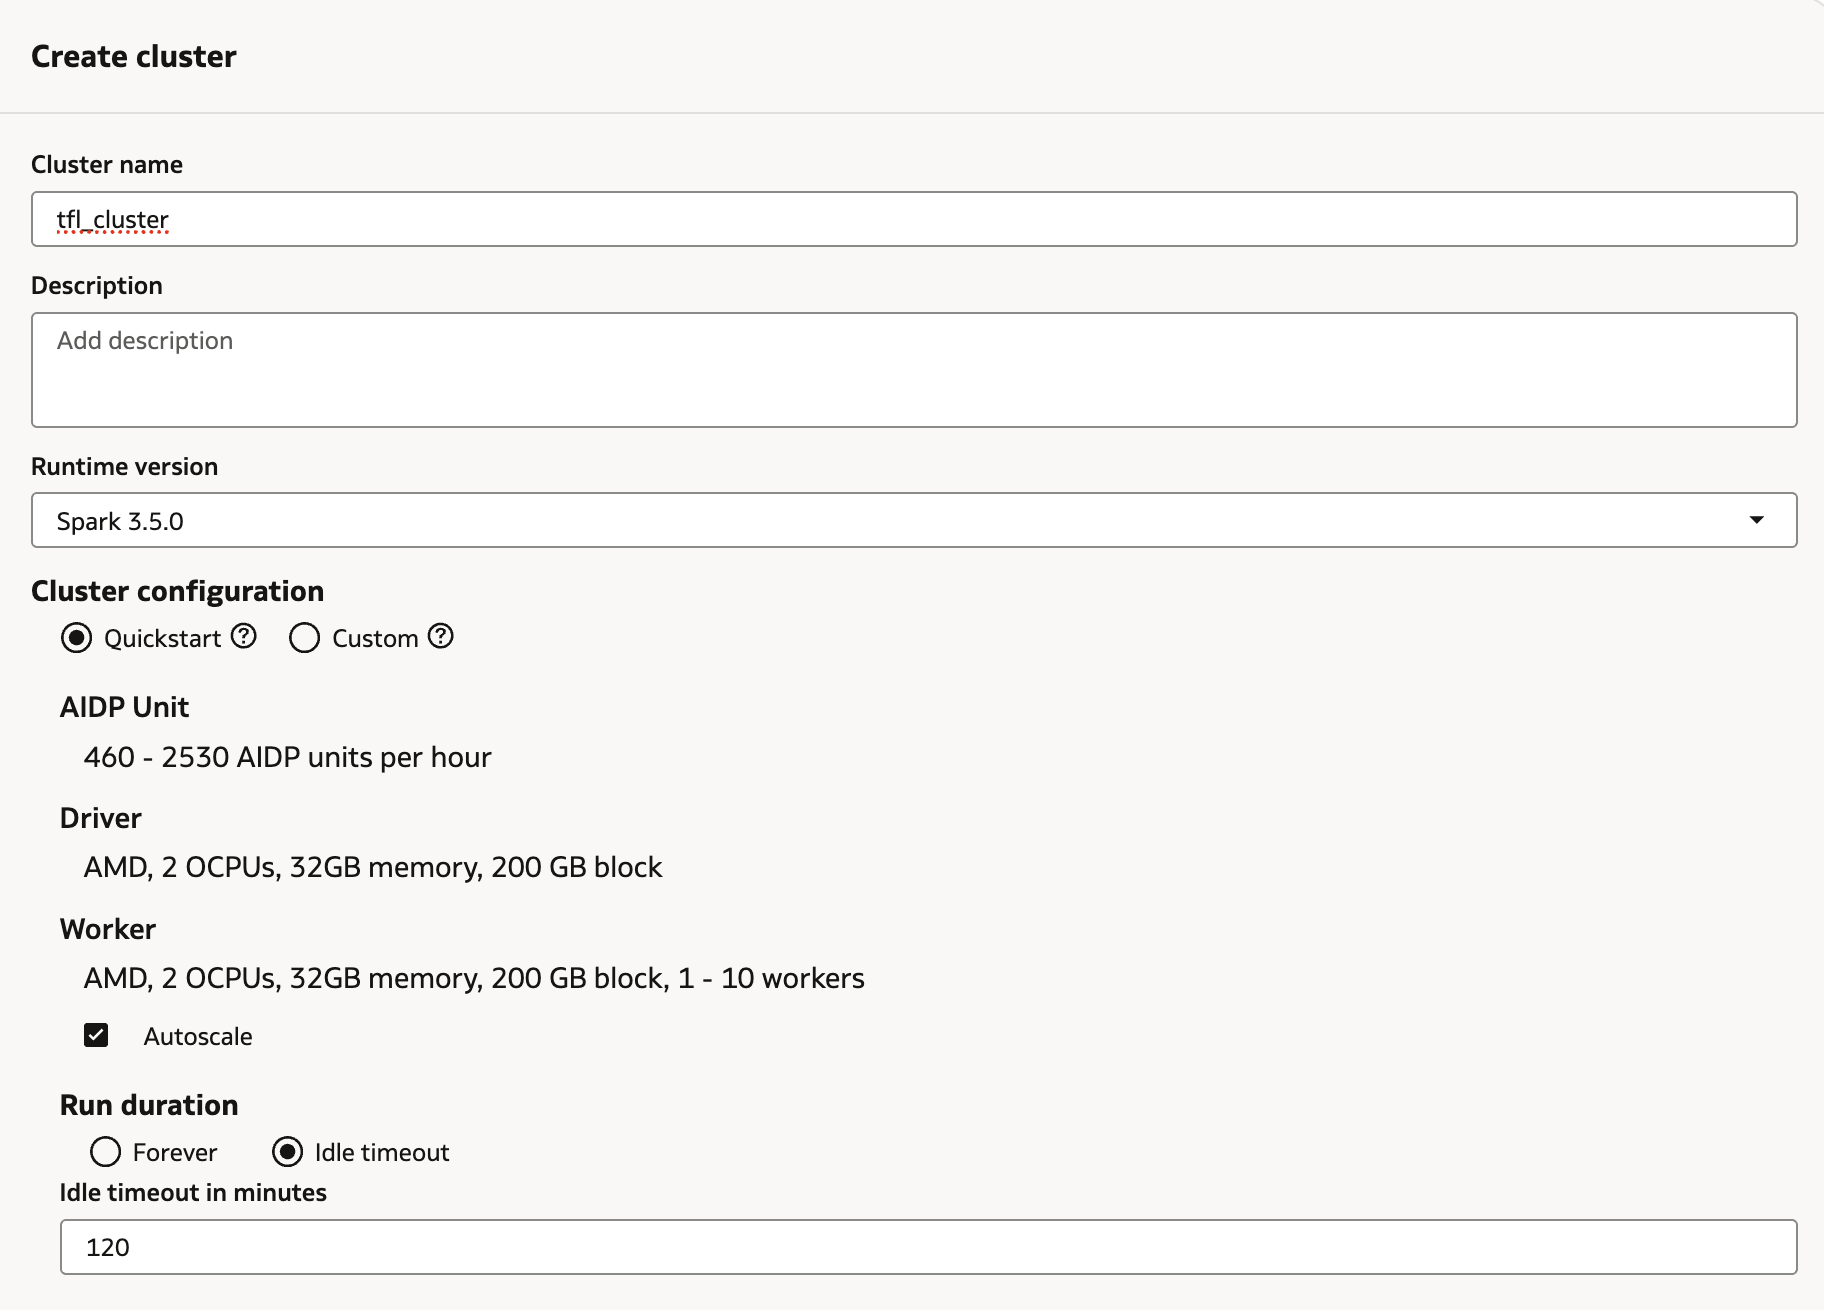
Custom exposes everything: driver/worker shape, OCPUs, memory, block volume size, and whether the worker count is static or autoscaled. For this demo, with a raw TfL poll landing around 15k rows every 10 seconds (well under that after the producer's own dedupe), a single static worker at the smallest available shape is plenty (we'll see about that, but these settings can be changed later, so let's go small first):
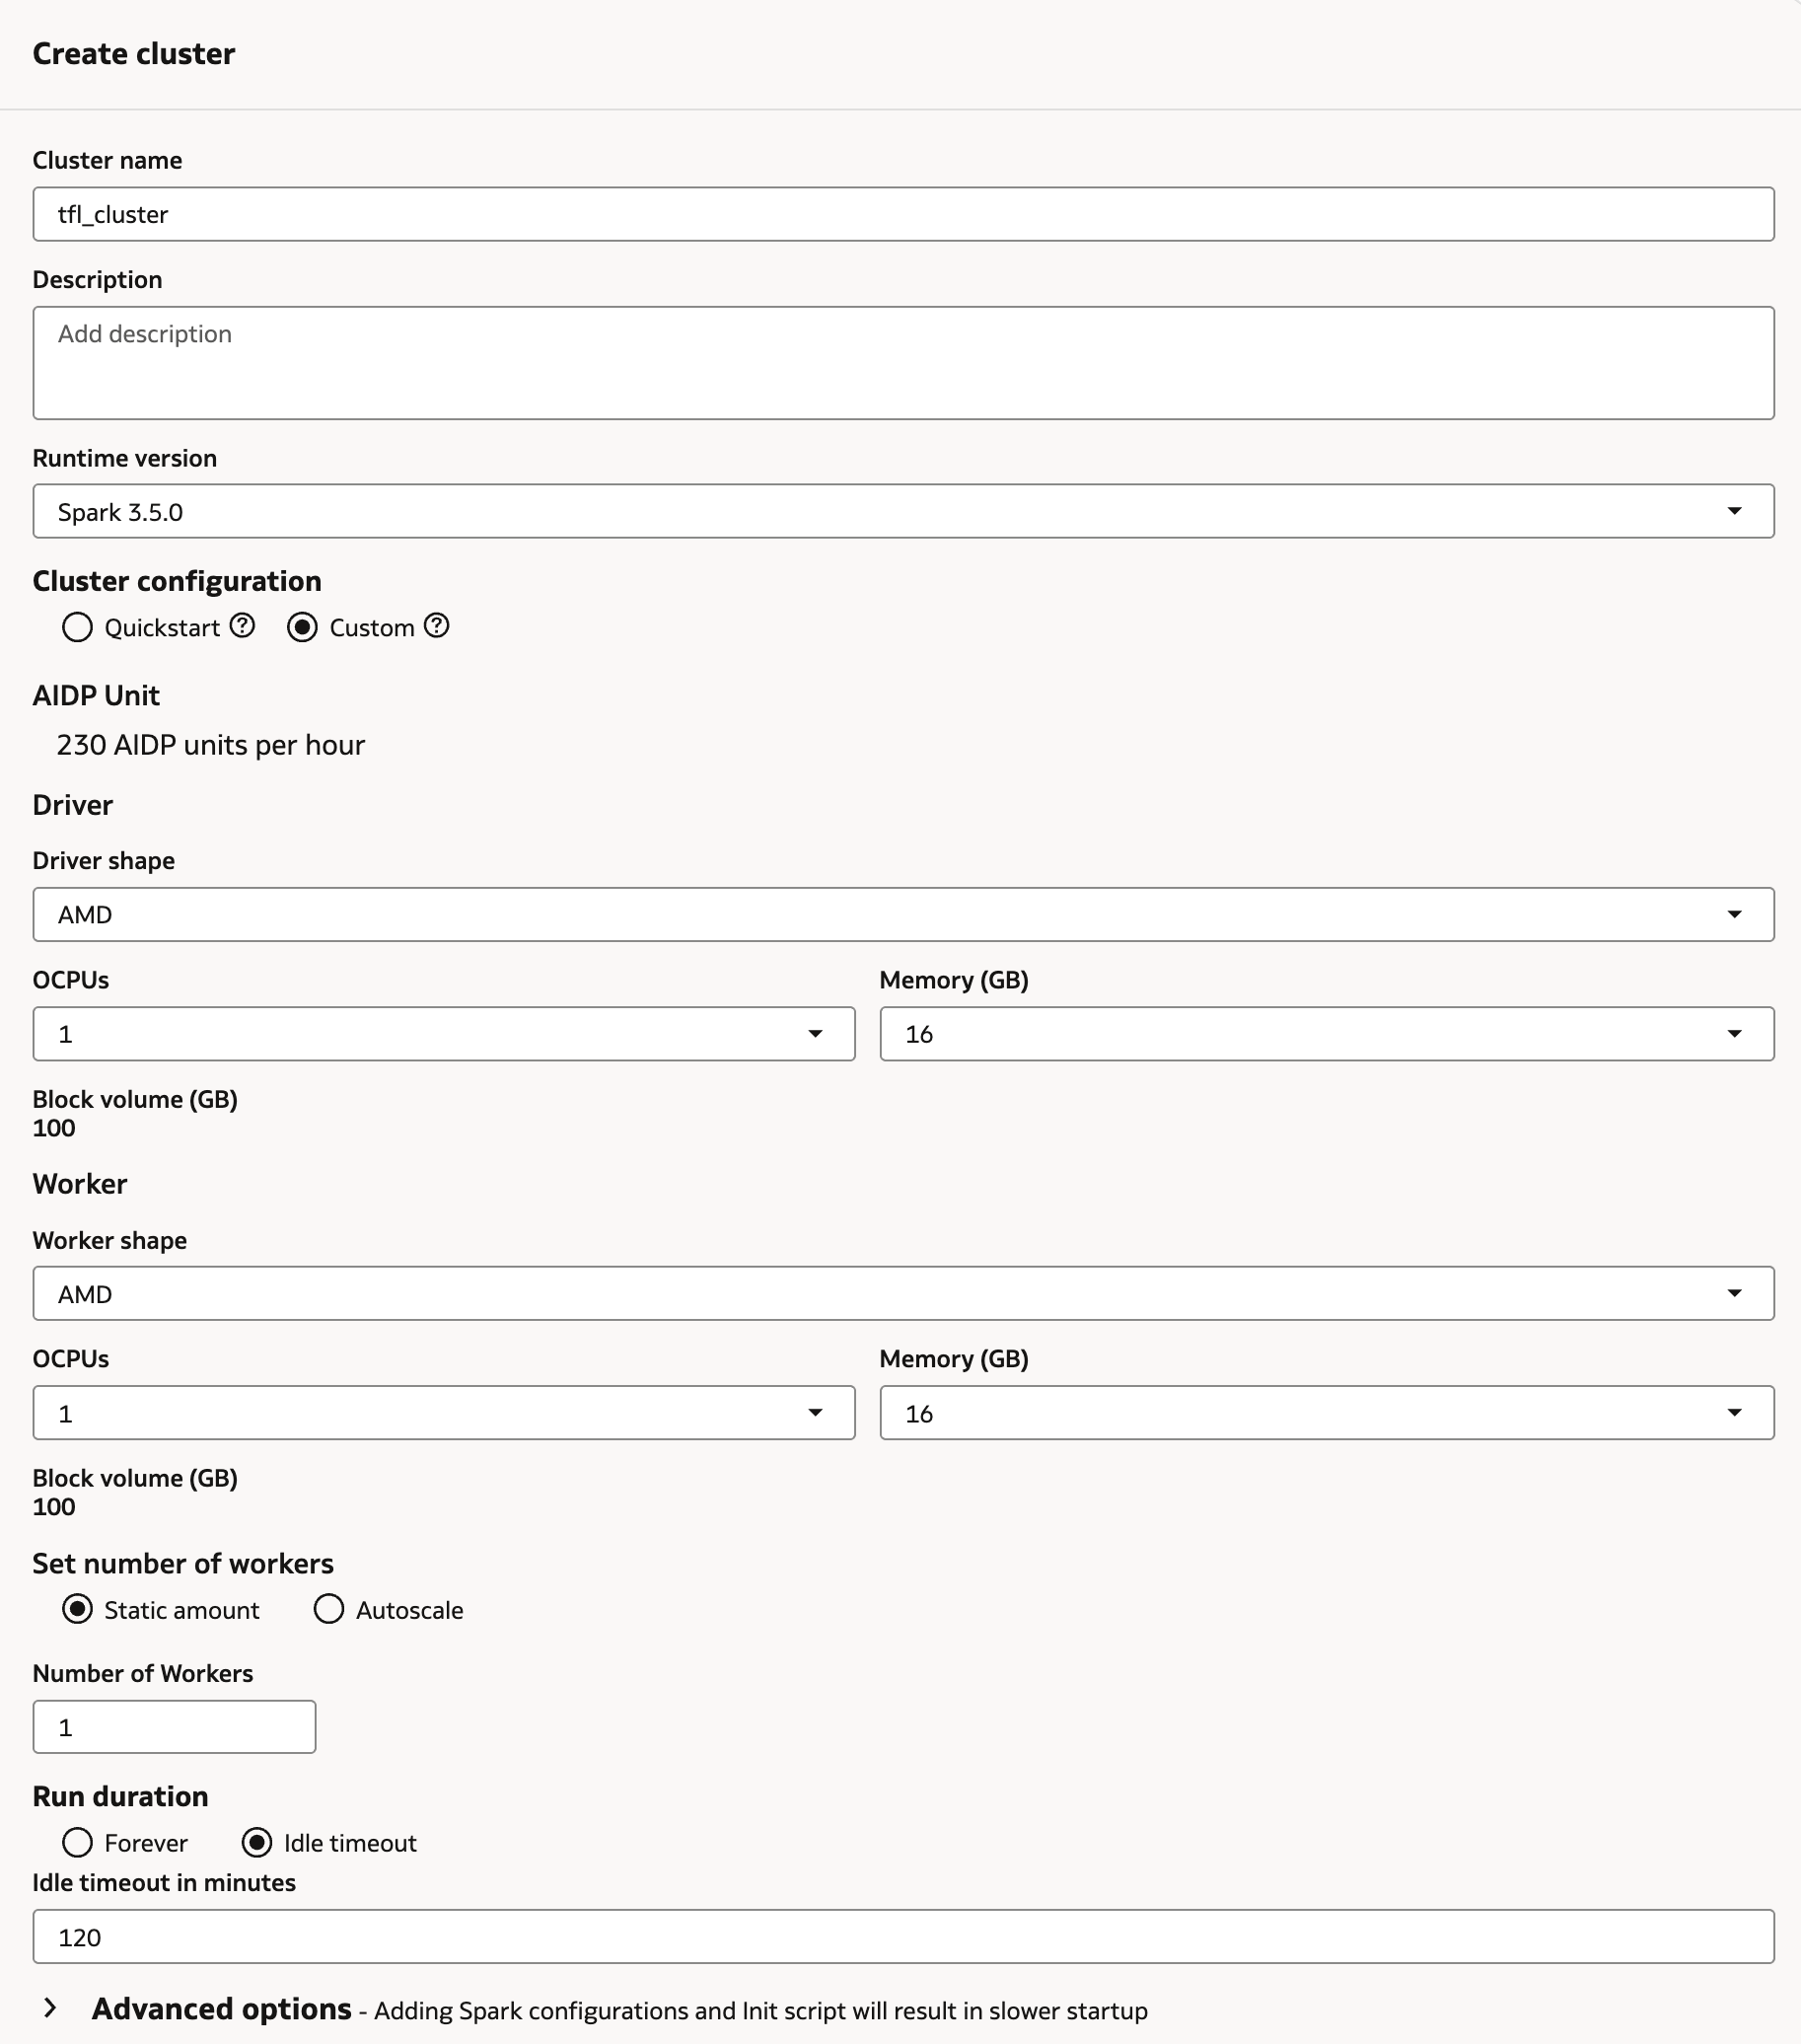
Hit Create, and, notice that, two clusters start Creating, not one: tfl_cluster, and a second, system-managed Default Master Catalog Compute cluster that came along for the ride from the catalog step above.
This creating step can take some time, so just wait until it's done.
Both eventually settle into Active:
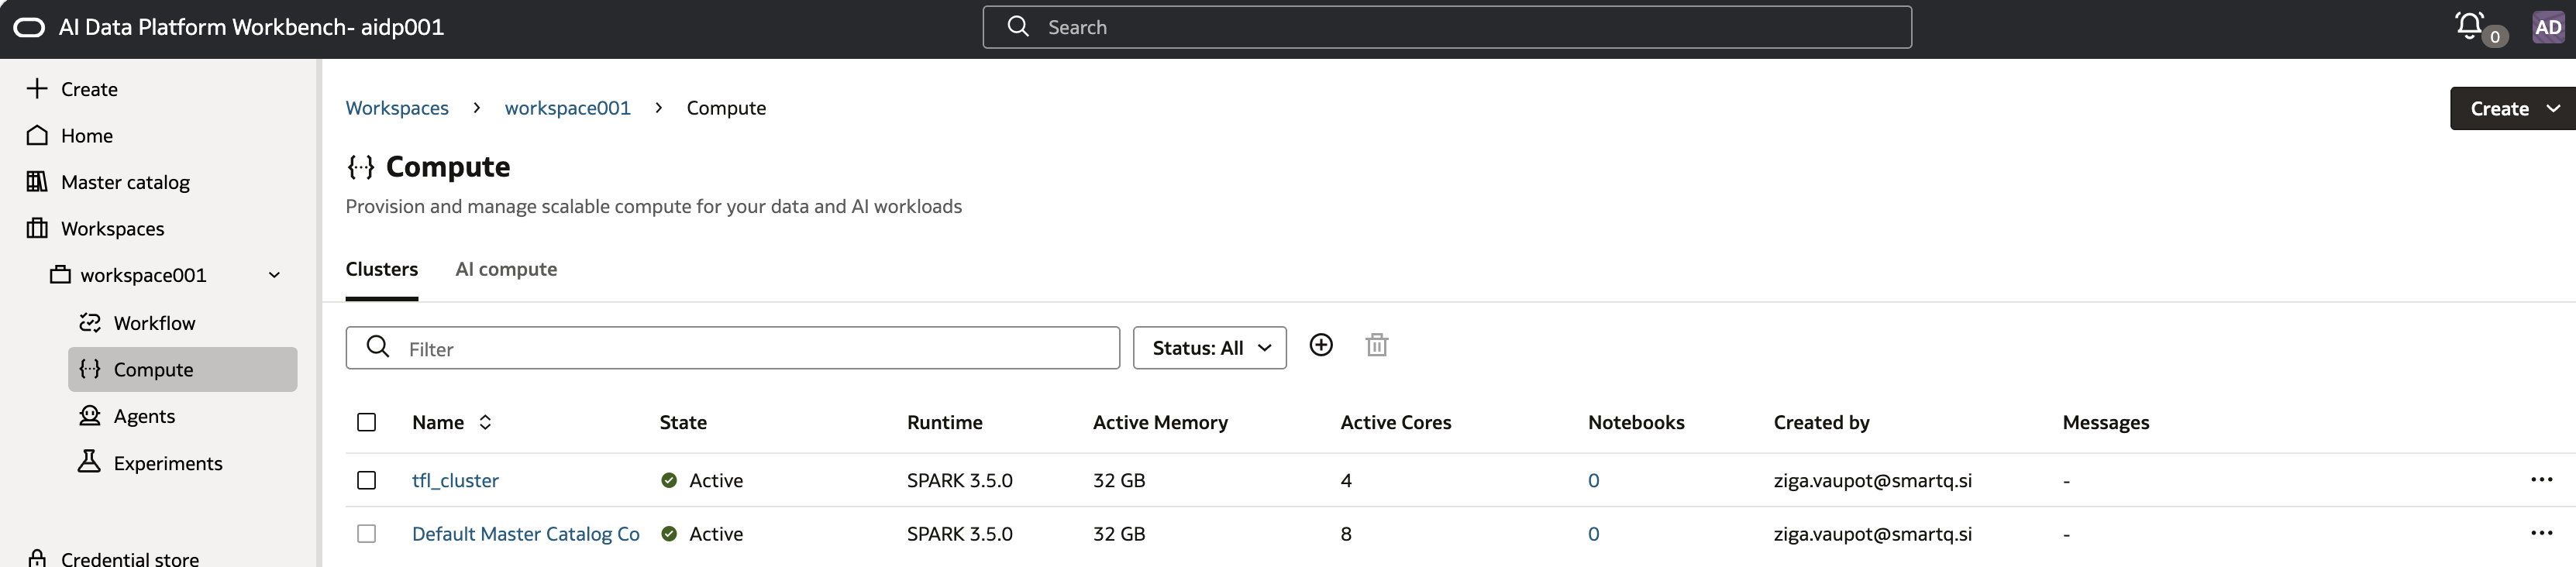
One thing not to be alarmed by along the way: the async-operations panel briefly showed the Default Master Catalog cluster's CREATE_CLUSTER operation as Canceled partway through, before it went on to finish normally. Nothing needed doing about it. It self-resolved into Creating, then Active, on its own.
Creating the schemas and the checkpoint volume
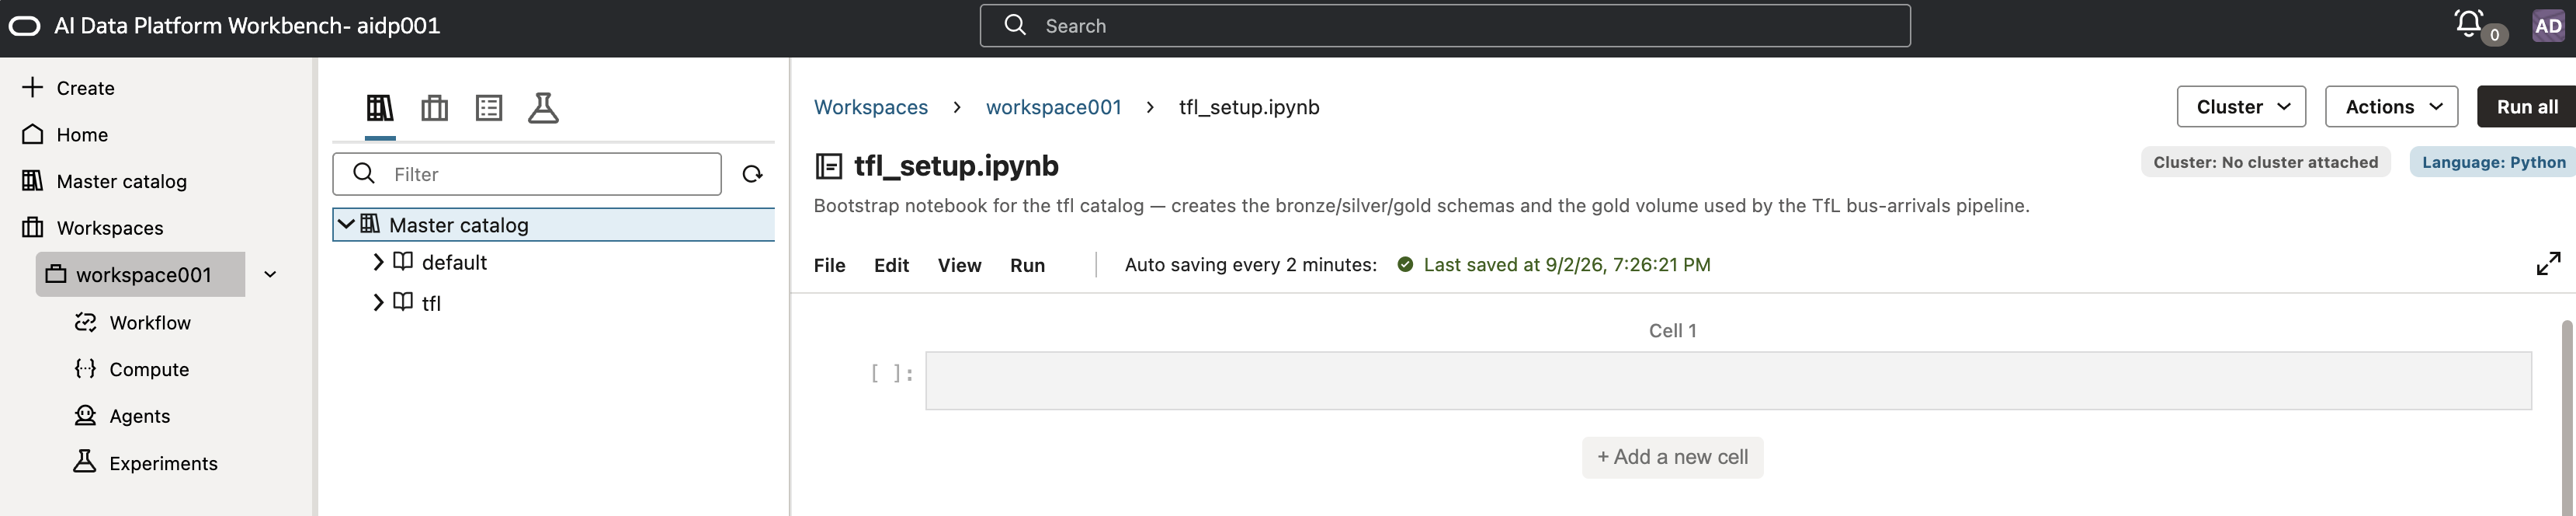
Schemas get created from SQL, run inside a notebook attached to a live cluster. There's no separate console form for it. Create > Notebook, name it (tfl_setup.ipynb), and it opens unattached, defaulting to Python:
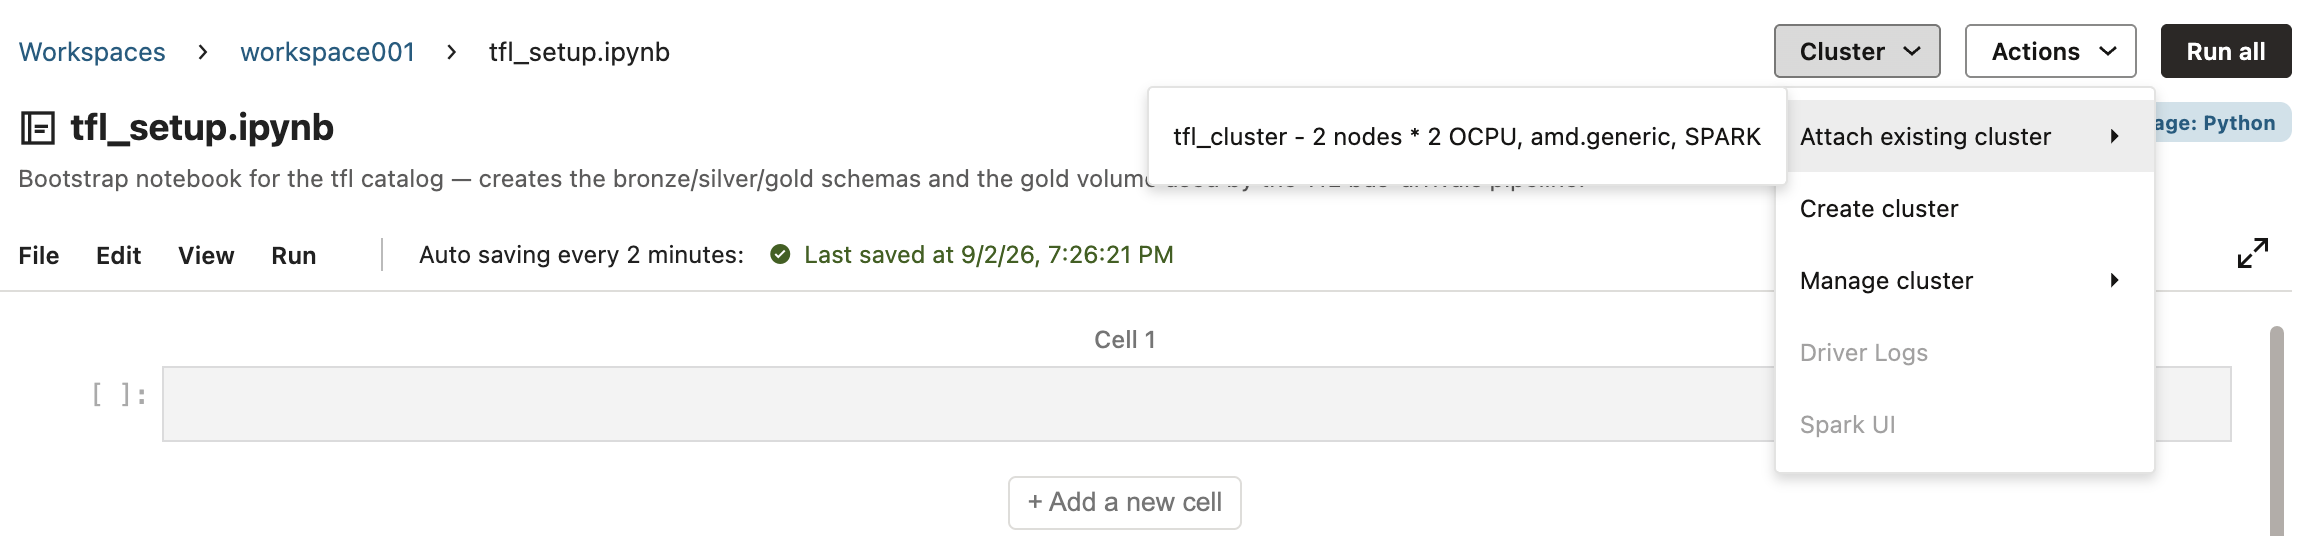
The Cluster dropdown lists clusters you can attach to directly:
Switch the notebook's language from Python to SQL, then run:
CREATE SCHEMA IF NOT EXISTS tfl.bronze;
CREATE SCHEMA IF NOT EXISTS tfl.silver;
CREATE SCHEMA IF NOT EXISTS tfl.gold;
CREATE VOLUME IF NOT EXISTS tfl.gold.tfl_volume;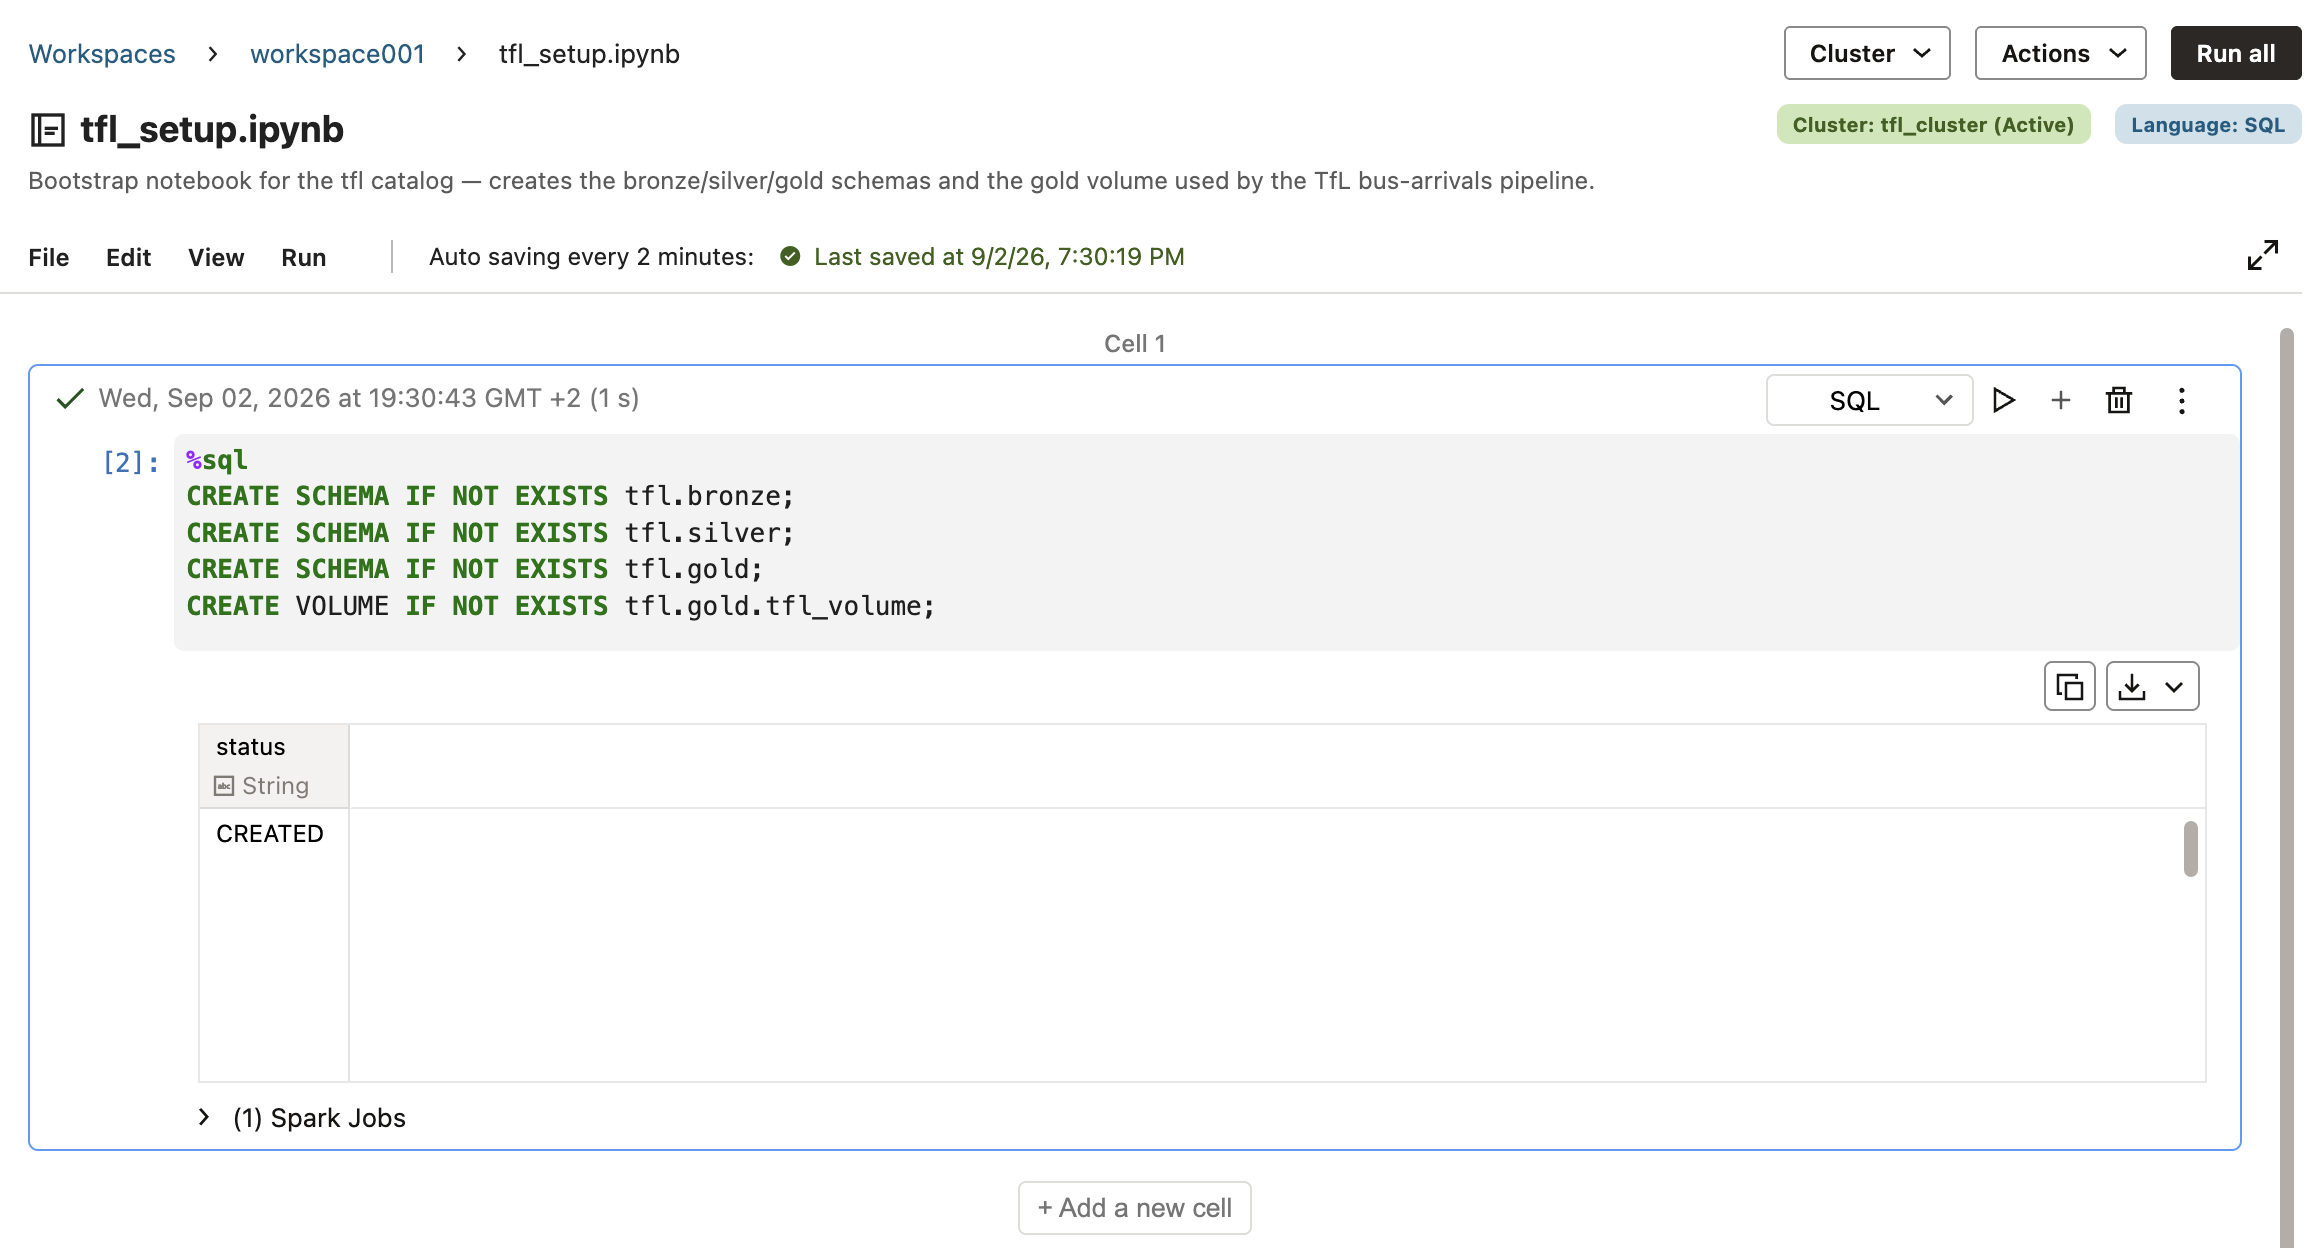
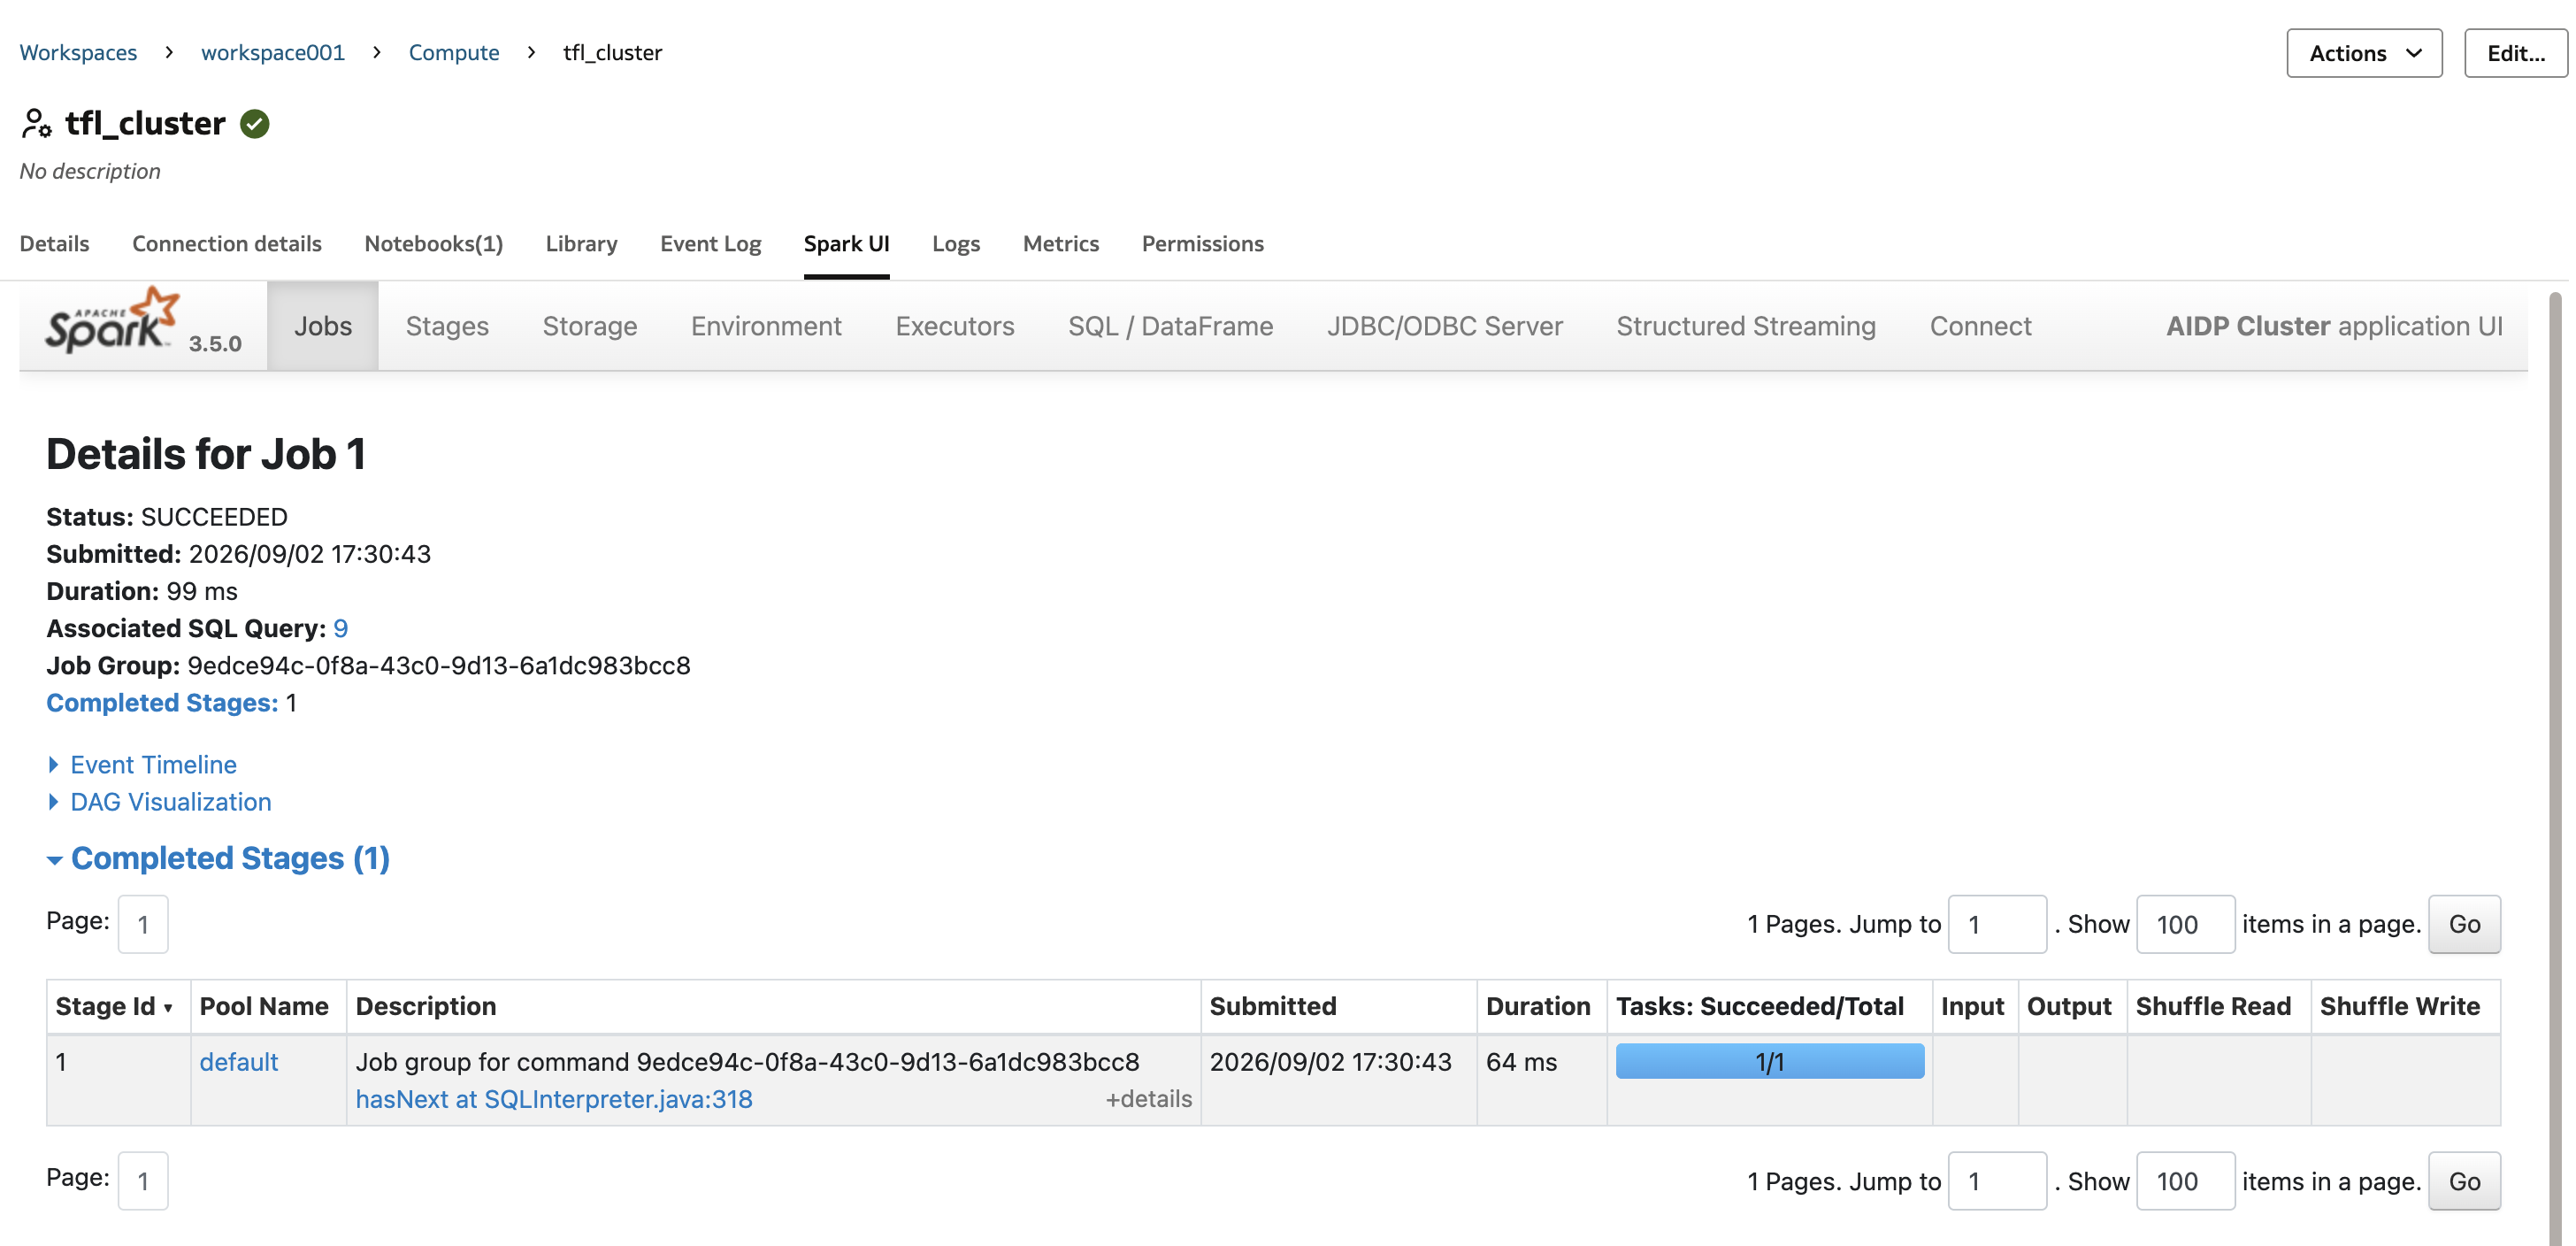
A single cell only shows one result table (for the final statement), so the real confirmation is checking Spark's own job history — Stage SUCCESS, one task, no errors:
... and, more directly, going back to Master Catalog and looking at what's actually there:
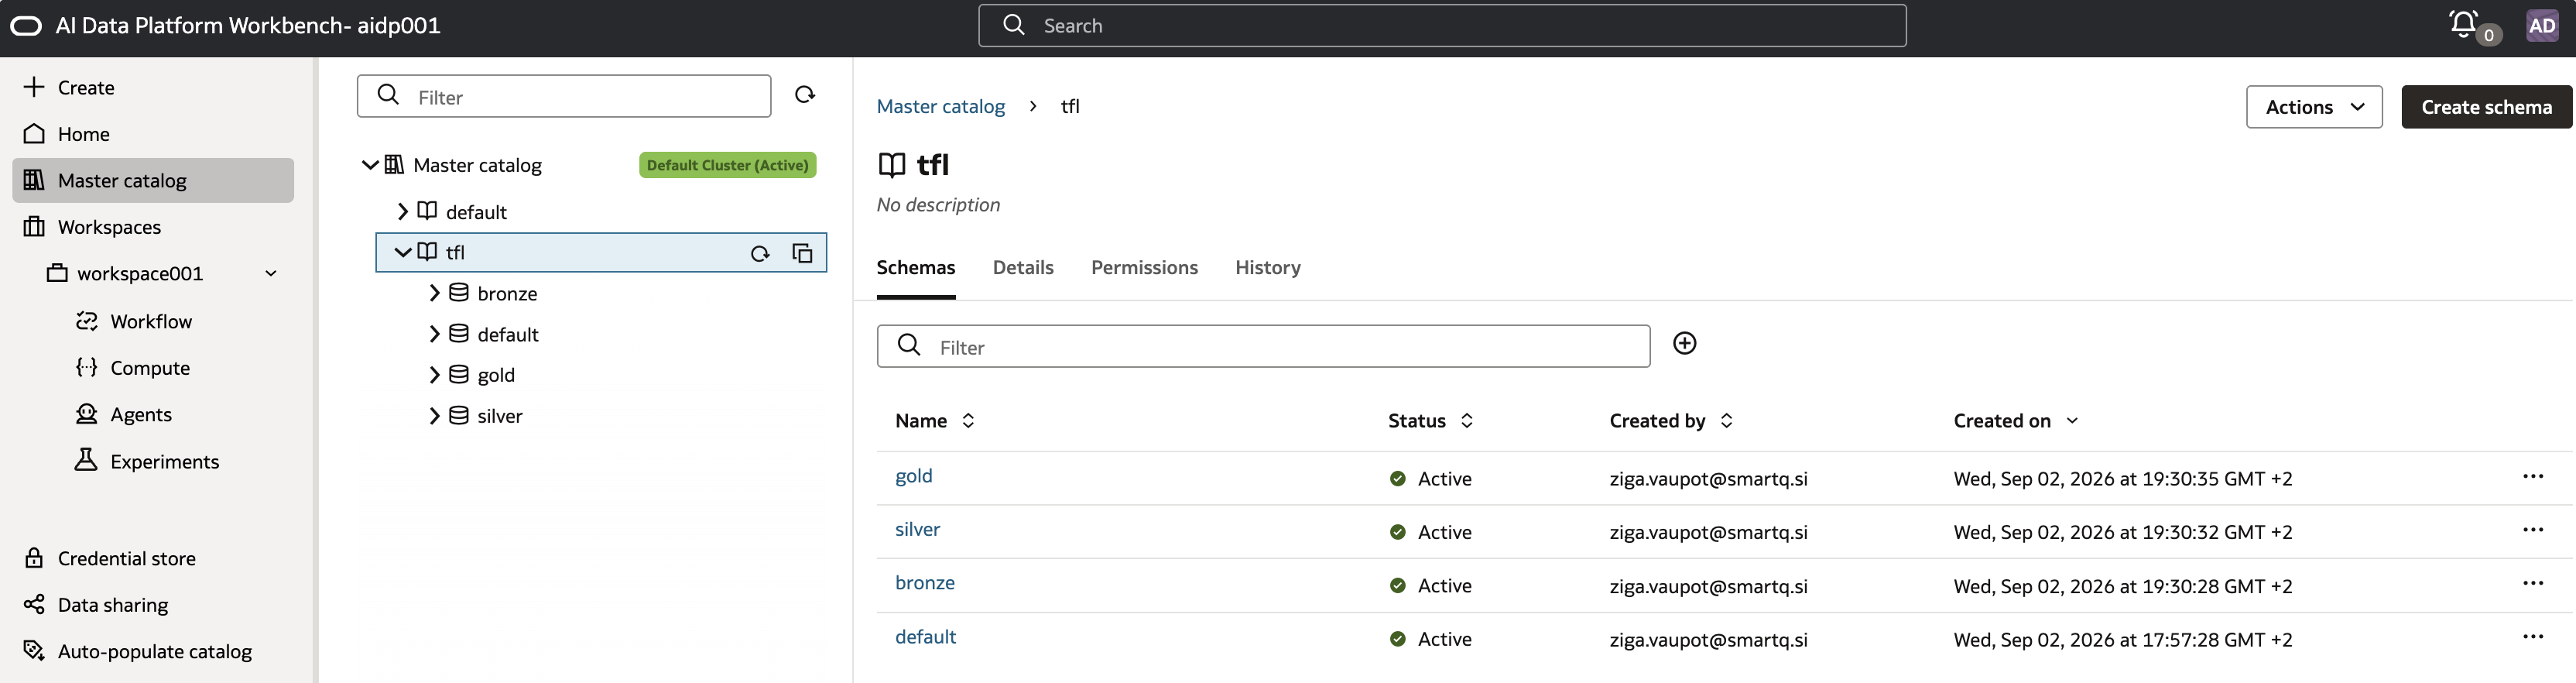
gold.tfl_volume shows up the same way, empty and Active, ready for the silver layer's streaming checkpoint later in the series.
Vault and secrets for the Kafka credentials
The old version of this demo read its OCI Streaming credentials out of OCI Vault via an aidputils.secrets.get(...) helper, and the same approach carries over here — with one console change worth flagging up front: secrets have moved out of the classic Vault UI into a dedicated Secrets Management console under Identity & Security.
Rather than reuse a vault that already backs other workloads in the tenancy, this gets its own: Identity & Security > Vault > Create Vault, named tfl-aidp-vault, in the shared compartment:
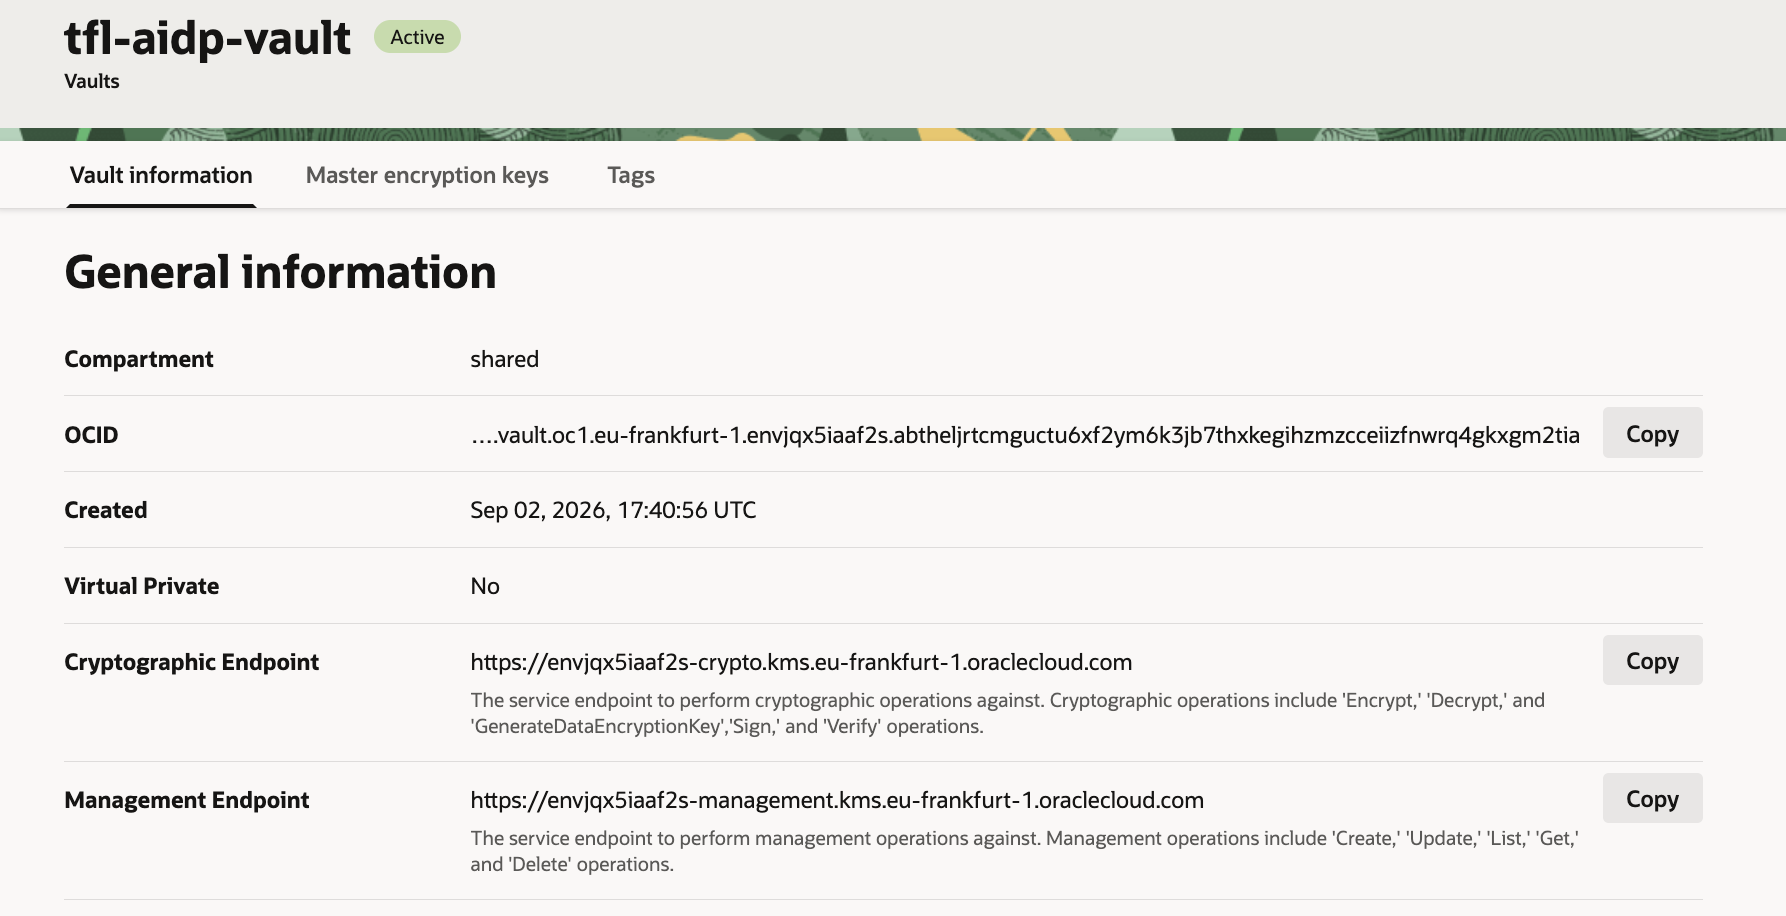
A vault needs a Master Encryption Key before anything can be encrypted with it — Master encryption keys > Create Key:
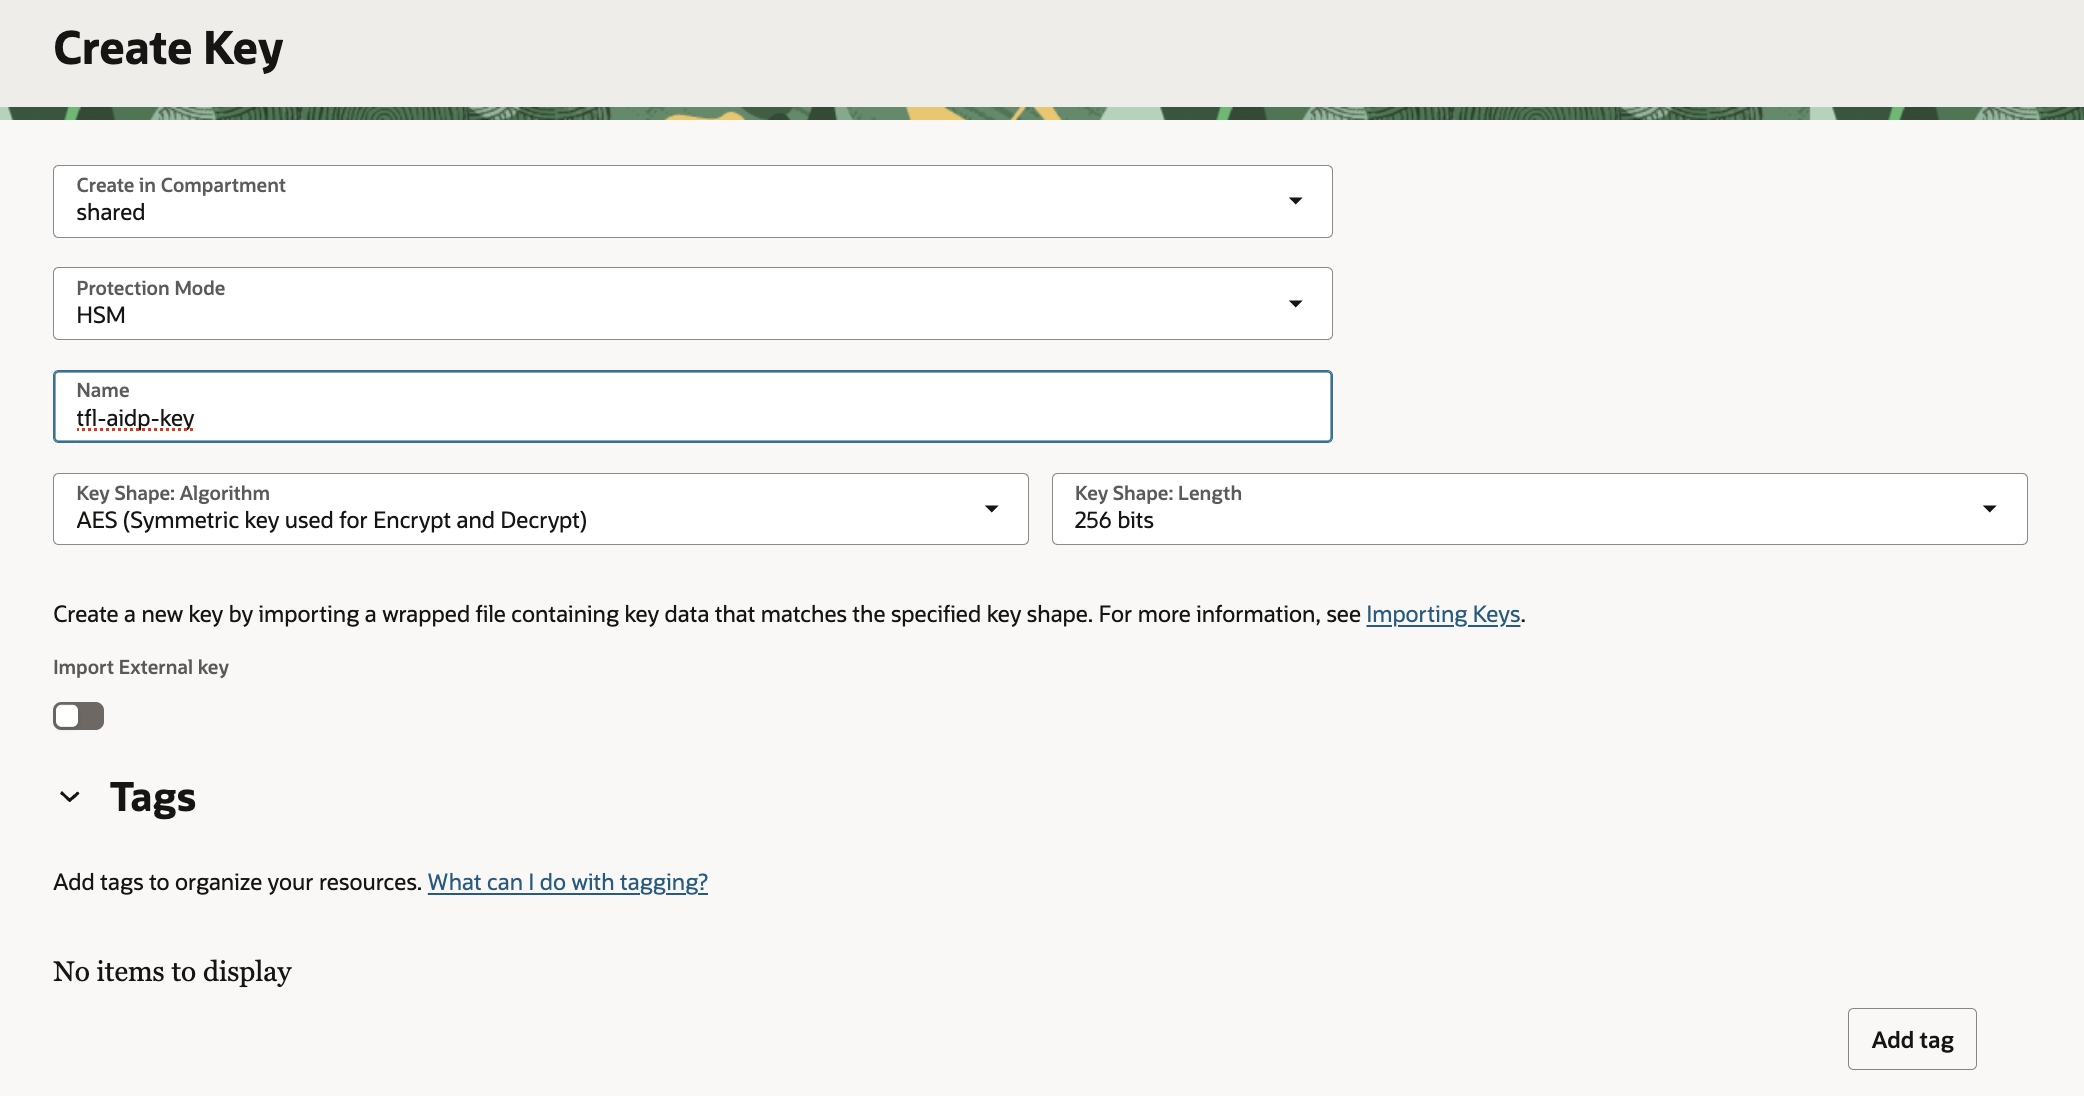
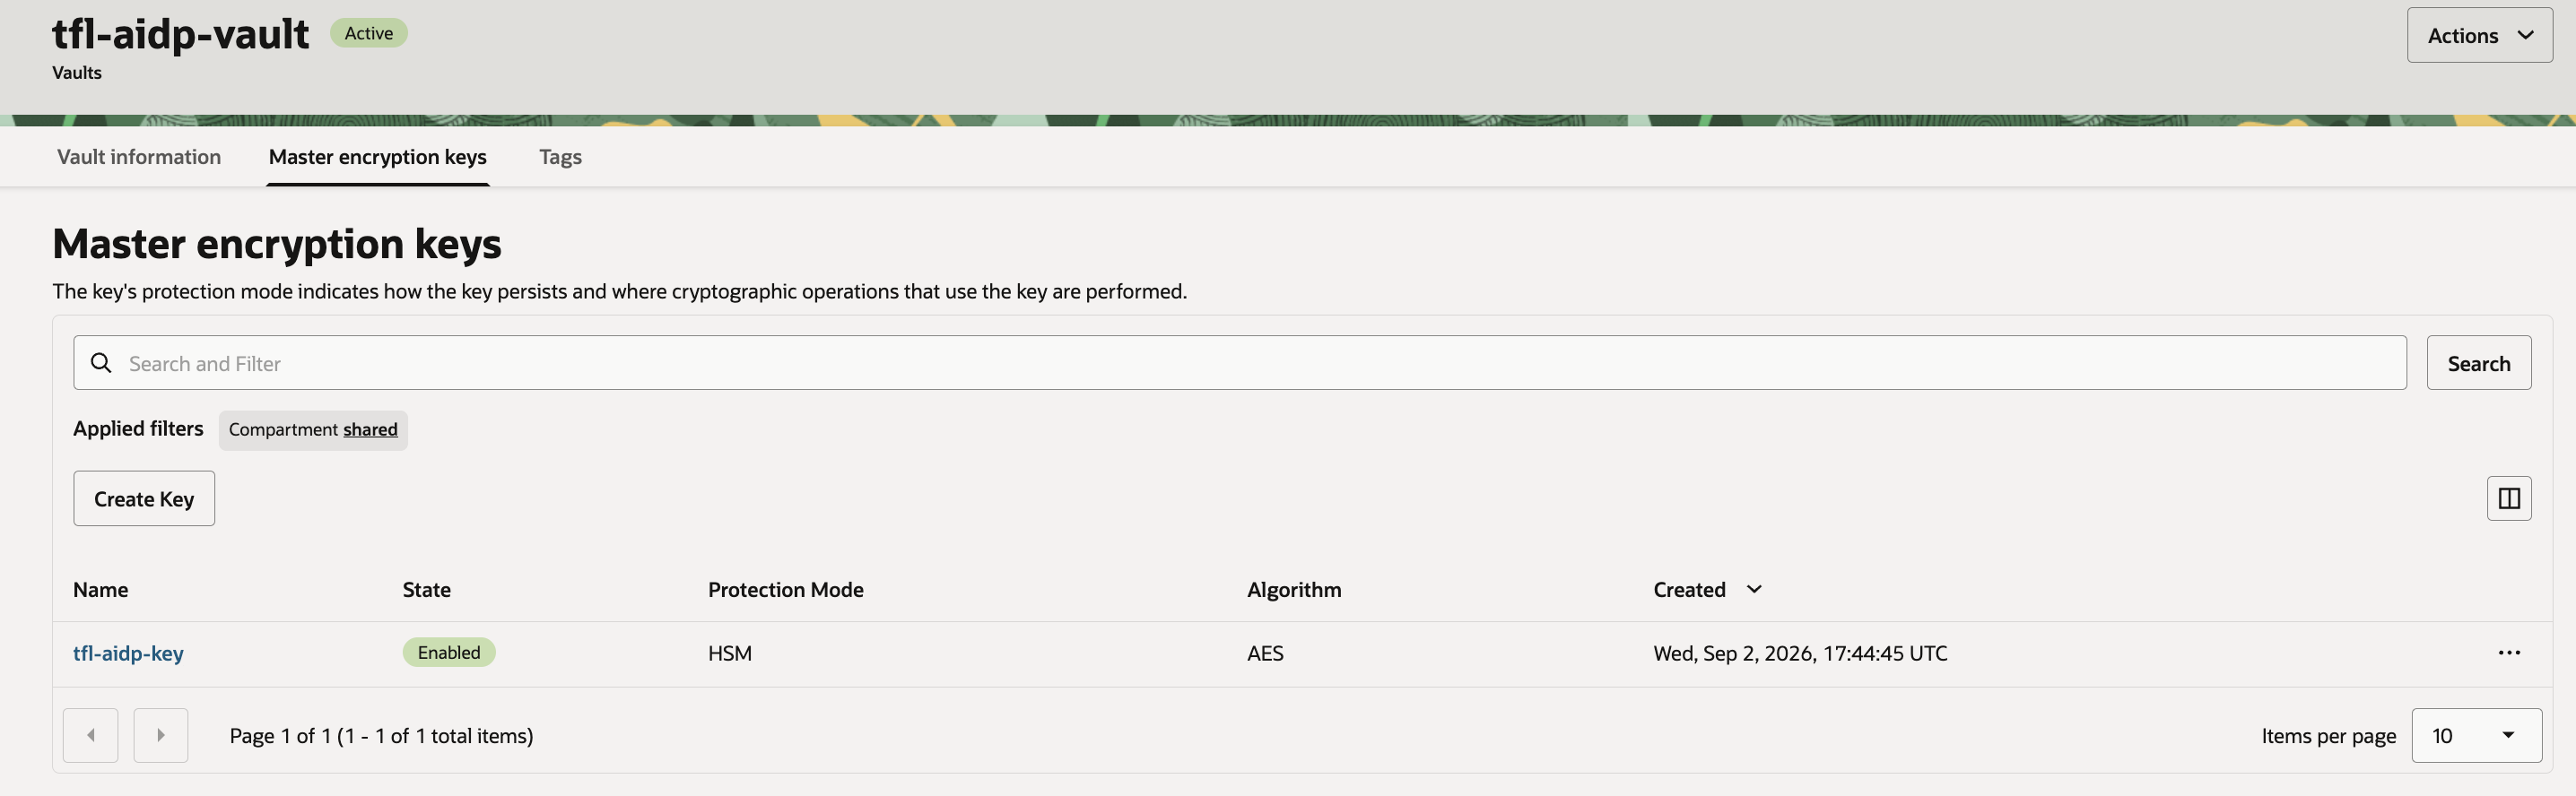
OCI Vault keys default to HSM protection mode (hardware-backed). Once created, the key list confirms it as Enabled, HSM, AES:
With the vault and key in place, Identity & Security > Secret Management is where the actual secrets get created. Starting empty, scoped to the vault:
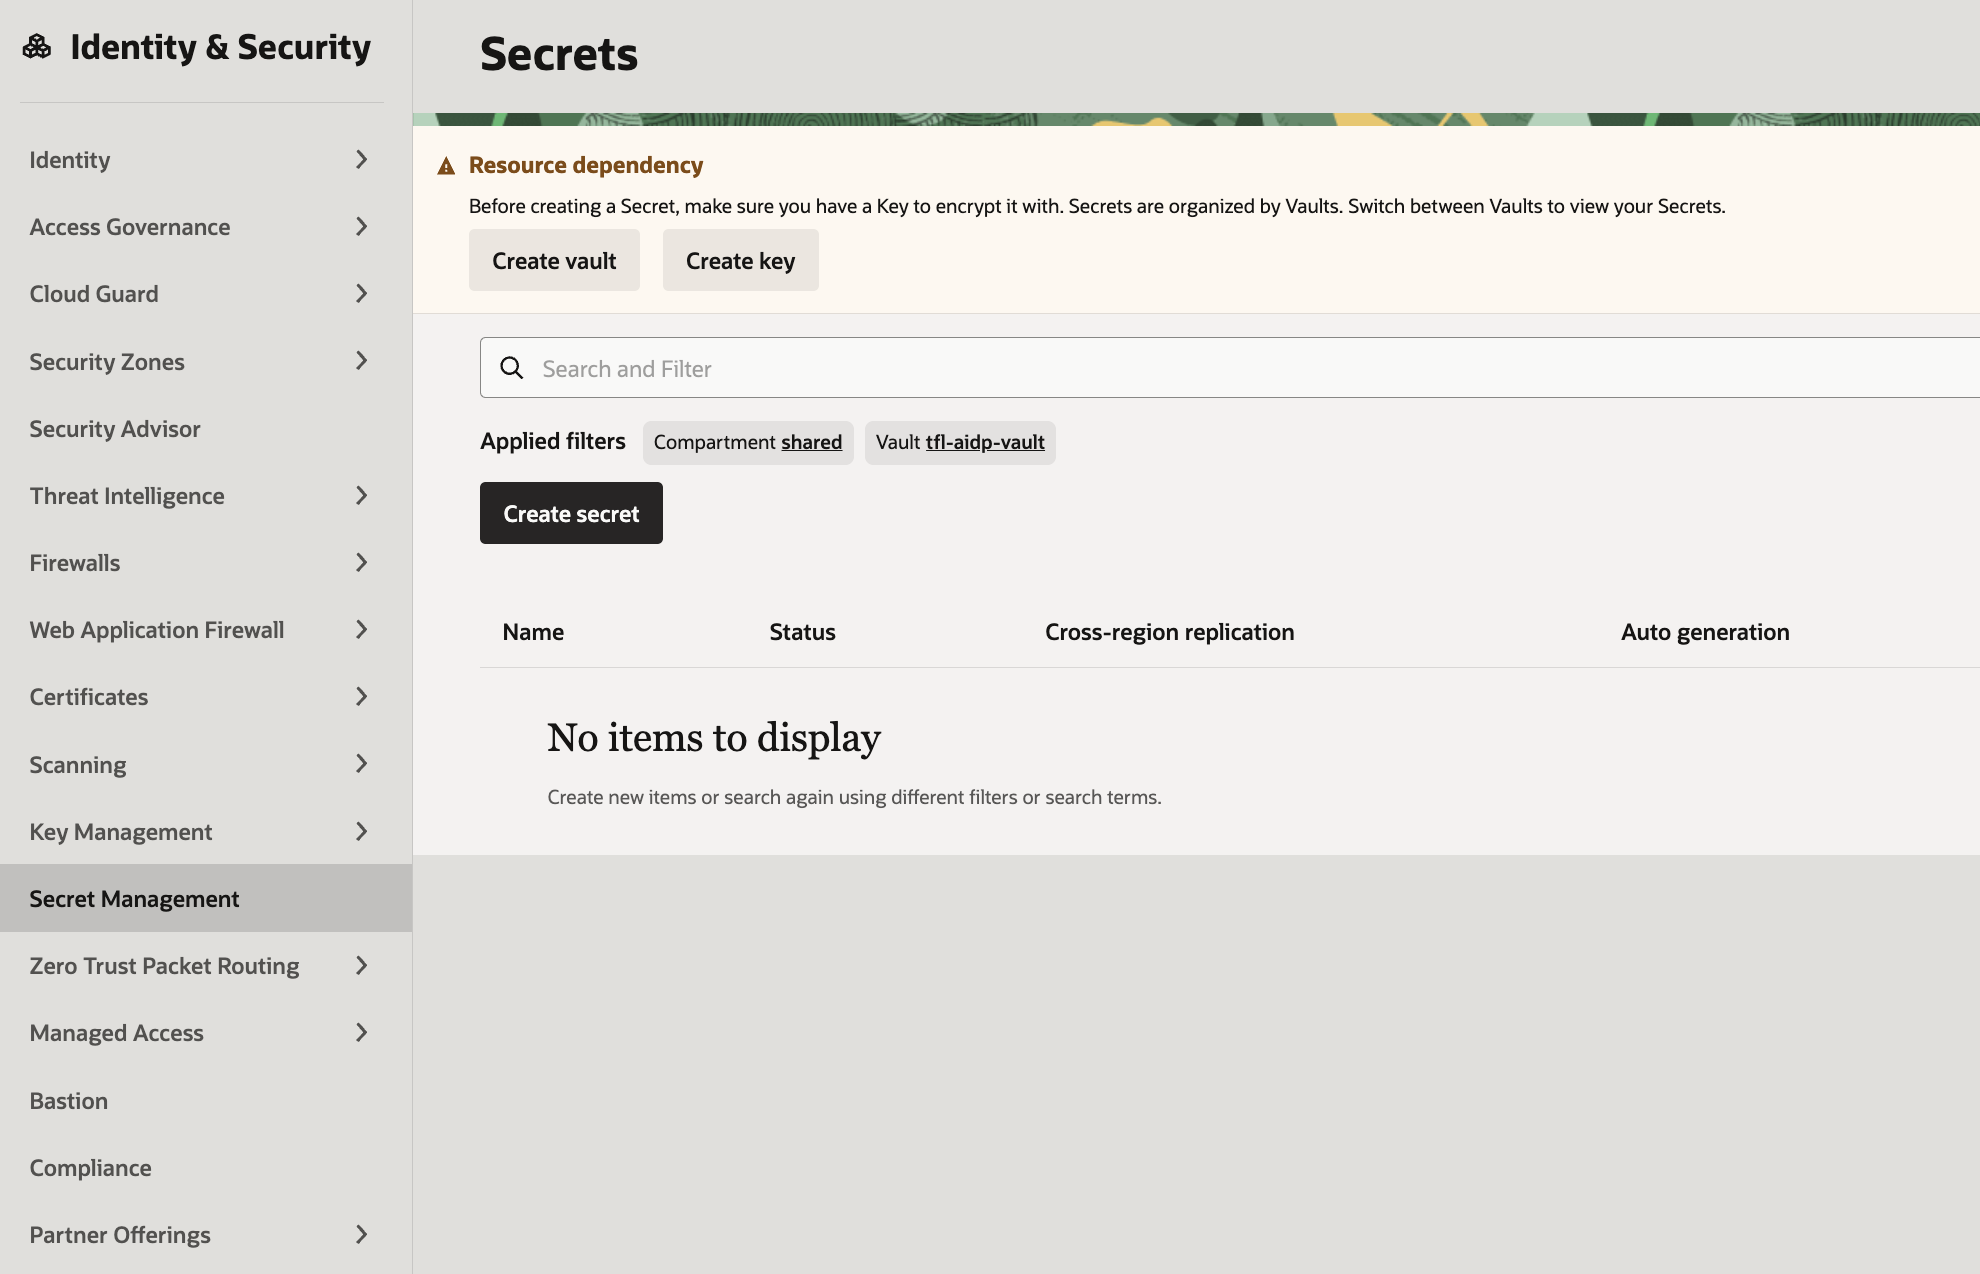
The Create secret form defaults to Automatic secret generation (a randomly generated passphrase), which is the wrong choice here. We will use KAFKA_USERNAME and KAFKA_PASSWORD, which are specific, known-shape values (a compound OCI Streaming username, and an OCI Auth Token). Switch to Manual secret generation exposes a plain text box instead:
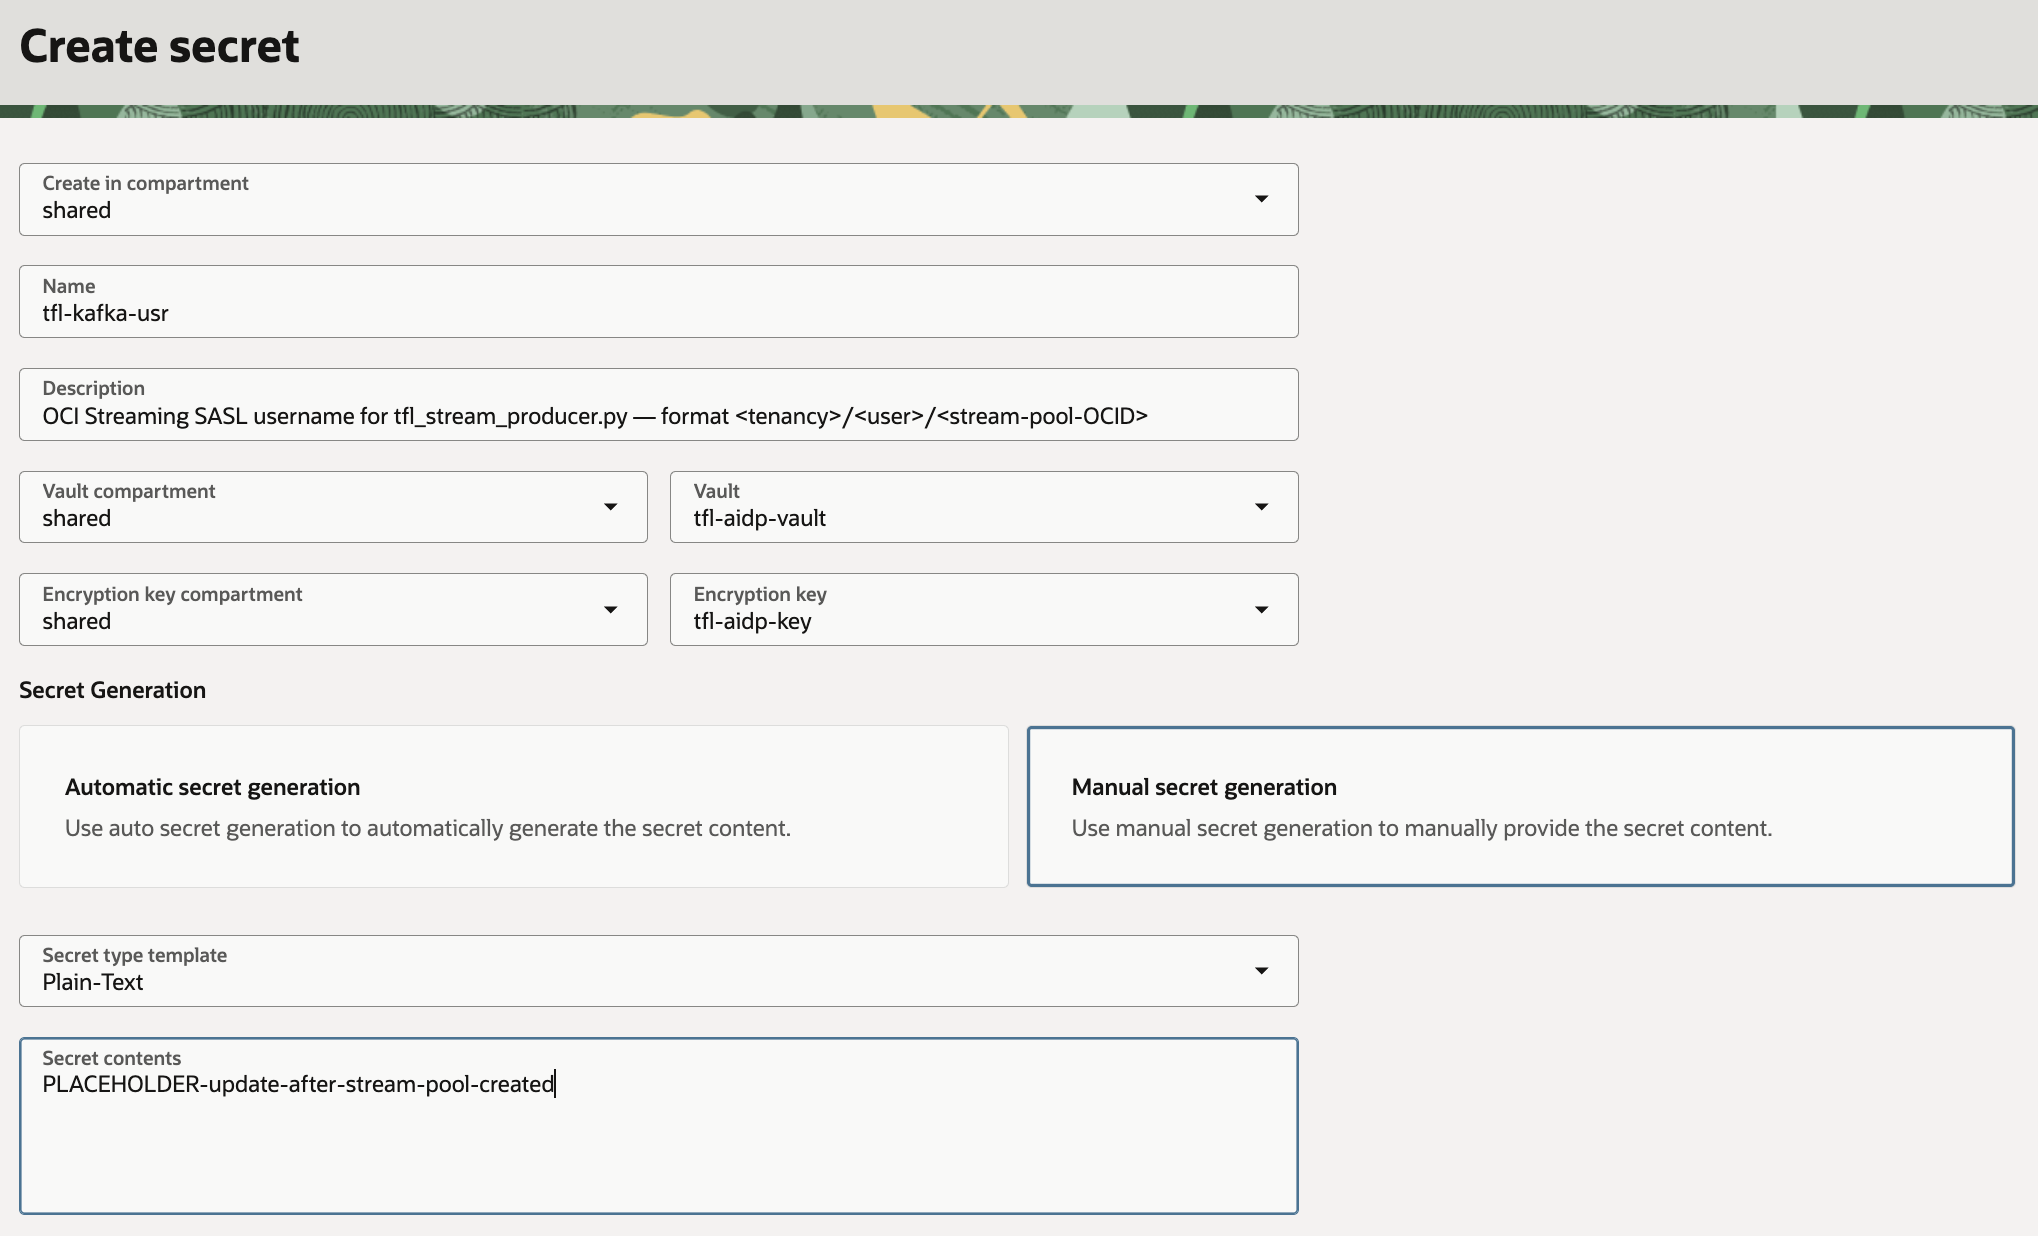
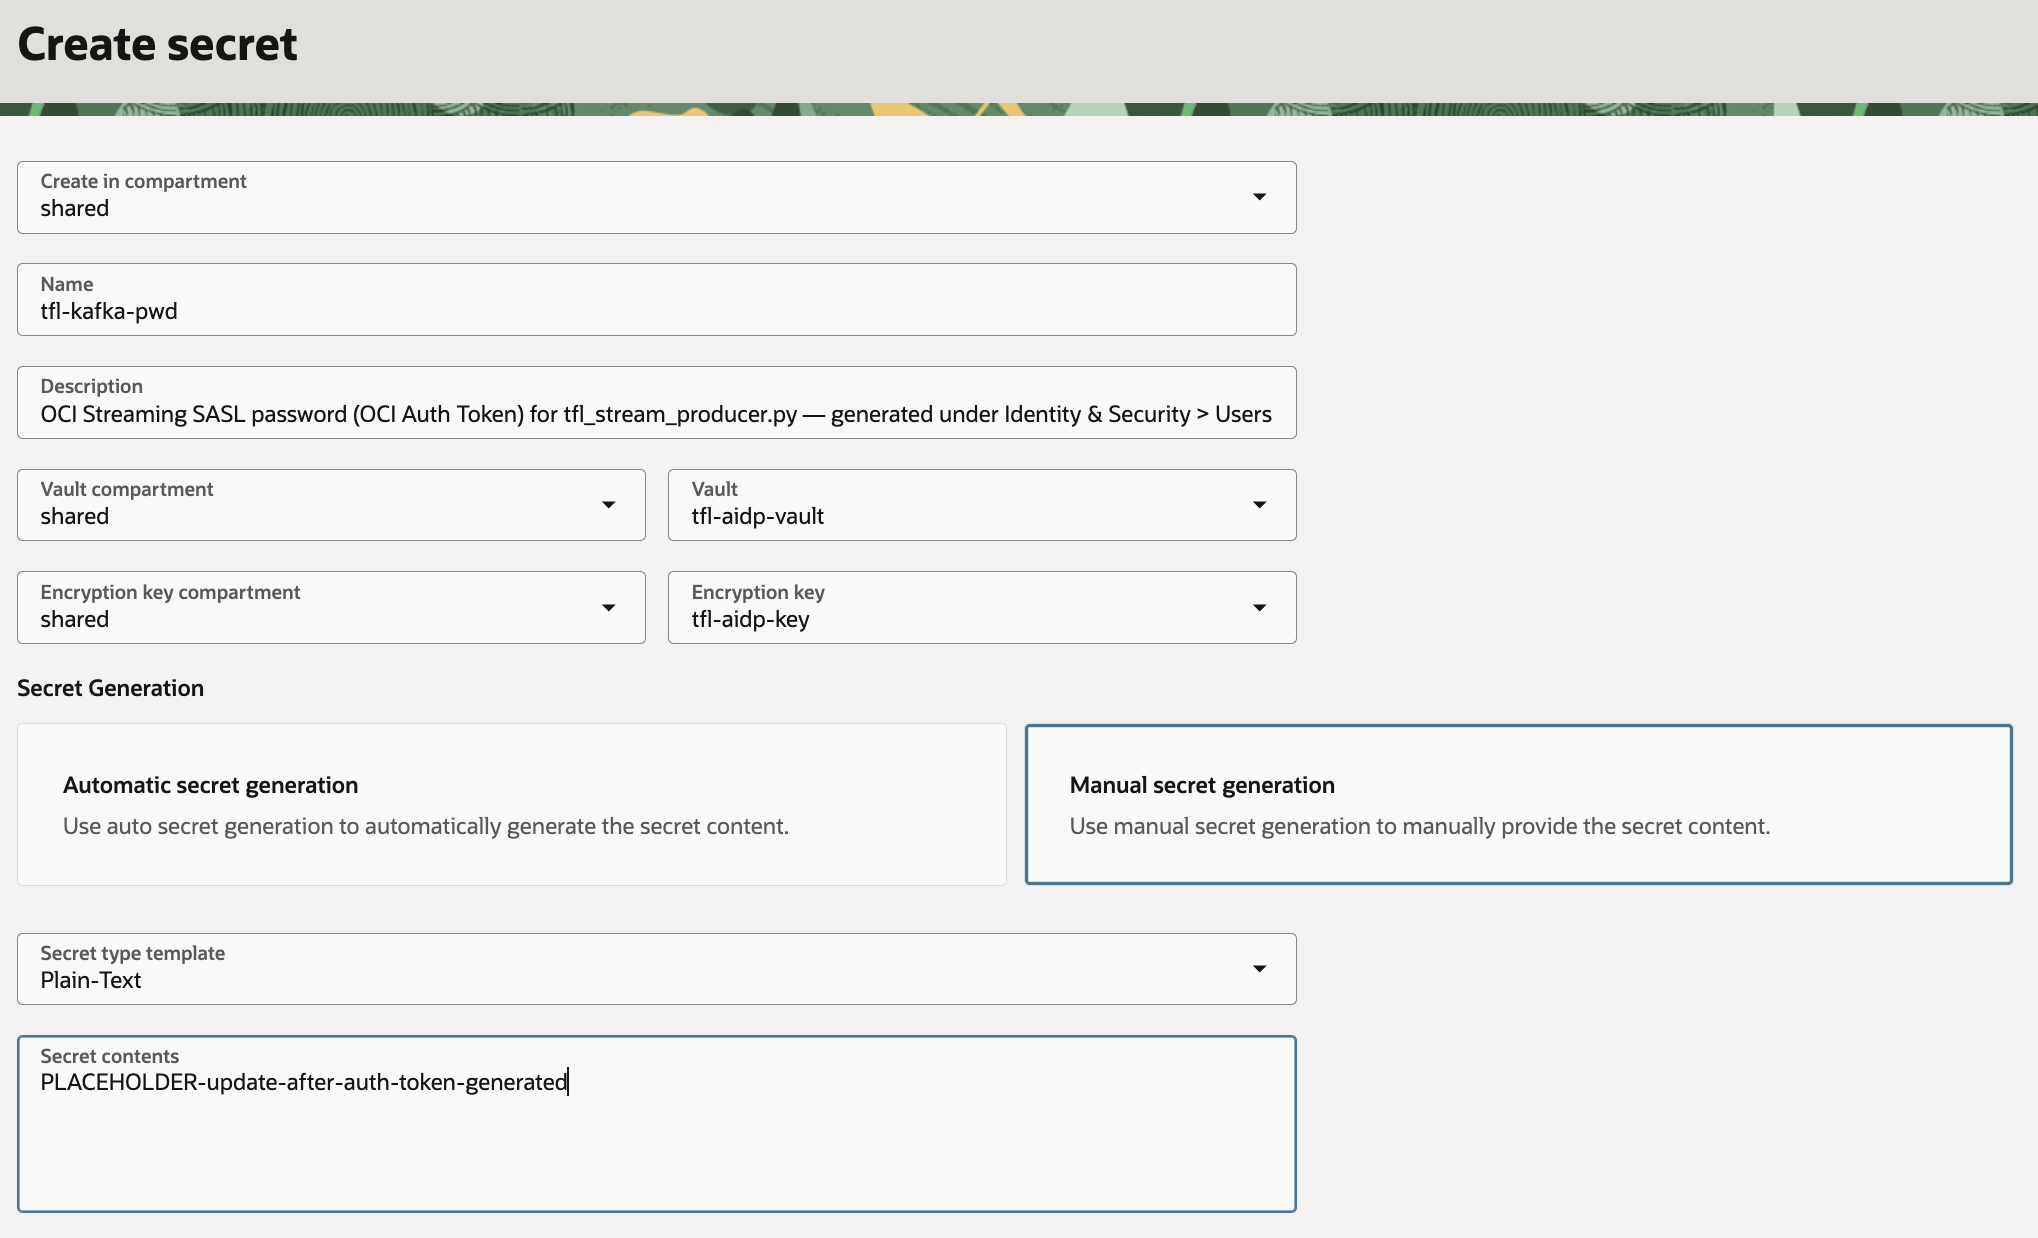
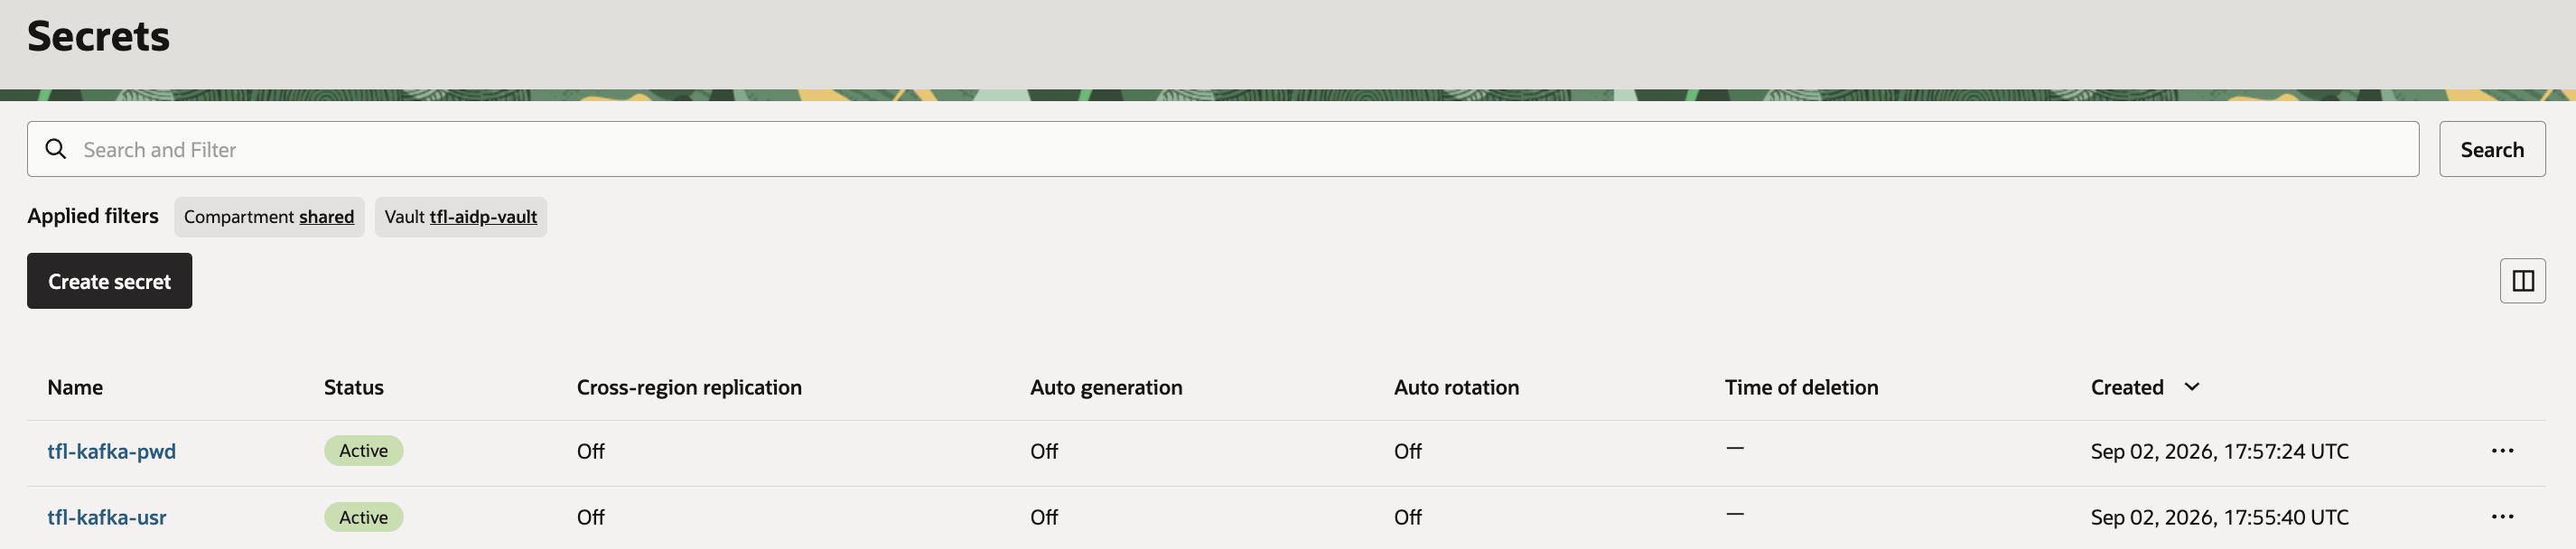
Both secrets exist as placeholders at this point. We did it deliberately ad will get back to this setting later in series when we define OCI Streaming. OCI Vault versions secrets, so swapping in real values later is a new secret version, not a delete-and-recreate:
What's next
With the Workbench, catalog, compute, and a place to keep secrets all in place, the environment side of this series is done. The remaining piece — provisioning the actual OCI Streaming pool and topic, generating a real OCI Auth Token, and updating these two secrets with real values — picks back up in the stream-producer post, where the rebuilt tfl_stream_producer.py actually starts publishing.
Related: Just Streams: Real-Time Data Pipelines on OCI (series intro)